1
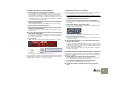
1. Make sure only the main stereo outputs are used.
The export function will only include audio routed to the stereo outputs.
2. Make sure the Loop/End markers are at the correct positions.
If you want to export the loop, you need to set the left and right locators to
encompass the desired area. If you instead want to export the whole song,
make sure the End (E) marker is at the desired end position.
✪ If you are using reverb or delay, you may want to adjust the right locator or End marker so that the reverb/delay “tails” are included in
the exported file.
3. Check that the song (or loop) plays back properly.
It’s especially important that no clipping occurs during playback (see page
74).
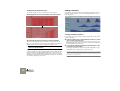
4. Pull down the file menu and select Export Song as Audio File (or
Export Loop as Audio File).
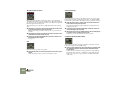
A file dialog appears.
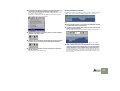
5. Specify a name, location and file type (AIFF or Wave) for the audio
file, and click Save.
226
Edit Menu
Undo
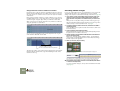
Virtually all actions in Reason can be undone. This includes creation, deletion
and reordering of devices in the Rack, parameter value adjustments, editing in
the sequencer and tempo/time signature adjustments. You can undo up to 10
actions.
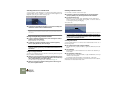
D To undo the latest action, select “Undo” from the Edit menu or hold
[Command] (Mac) or [Ctrl] (Windows) and press [Z].
The action to be undone is indicated next to the Undo command on the Edit
menu. For example, if your latest action was to delete some device(s) from
the Rack, the Edit menu will say “Undo Delete Devices”.
Redo
To redo an undone action (“undo the undo operation”), select “Redo” from the
Edit menu or hold [Command] (Mac) or [Ctrl] (Windows) and press [Y].
The action to be redone is indicated next to the Redo command on the Edit
menu.
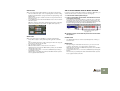
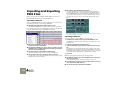
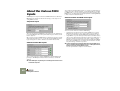
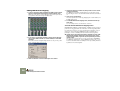
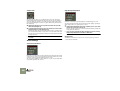
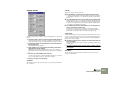
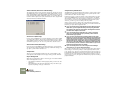
6. Specify a sample rate and bit depth (resolution) for the exported
file in the Settings dialog that appears.
You can undo/redo up to 10 actions.
7. Click OK.
The program creates the audio file. Depending on the length of the song/
loop, this may take a while, during which a progress dialog is shown.
Cut/Cut Device/Cut Pattern
Export REX as MIDI File...
Cutting applies to tracks, sequencer events and Groups, devices and patterns.
If you have imported a REX file into a Dr. Rex device and wish to play back the
loop via MIDI (typically from another sequencer), proceed as follows:
Copy/Copy Device/Copy Patch/Copy Pattern
1. Select the Dr. Rex device in the rack.
2. Select “Export REX as MIDI File...” from the File menu.
This command takes the selected item(s), copies them and places the copies on
the clipboard (an invisible storage location) from where they can later be pasted
in.
3. Save the MIDI File to disk.
Copying applies to tracks, sequencer events and Groups, devices and patterns.
4. In the other application, open the MIDI file you just created.
Paste/Paste Device/Paste Patch/Paste Pattern
5. Set up the other application to play back the MIDI File on the correct MIDI Output and MIDI Channel (the output and channel on
which the Dr. Rex device receives data).
This command takes the items you have cut or copied and pastes them back
into the document.
Quit
Sequencer tracks
This allows you to quit the program. If there are any documents open with unsaved changes you will be asked whether you want to save those changes.
D If you Paste the track(s) into their original song, this simply duplicates the tracks.
However, the Pasted tracks will not be connected to any devices in the rack.
Menu and Dialog Reference
This command takes the selected item(s), removes them and places them on the
clipboard (an invisible storage location) from where they can later be pasted in.