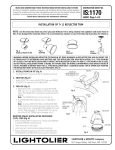
Transcript
READ AND UNDERSTAND THESE INSTRUCTIONS BEFORE INSTALLING FIXTURE
INSTRUCTION SHEET NO.
This fixture is intended for installation in accordance with the National Electrical Code and local regulations.
To assure full compliance with local codes and regulations, check with your local electrical inspector before
installation. To prevent electrical shock, turn off electricity at fuse box before proceeding.
IS:6700
A0100
Retain these instructions for maintenance reference.
Page 1 of 1
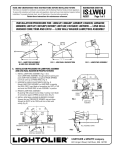
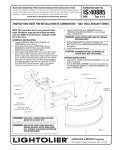
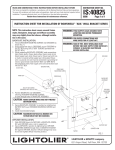
INSTRUCTIONS FOR INSTALLATION OF DISCUS FIXTURES
1. Twist DIFFUSER counterclockwise and remove.
OUTLET BOX
2. Partially thread supplied MOUNTING SCREWS into OUTLET BOX.
GROUND WIRE
3. While supporting FIXTURE HOUSING, make electrical
connections: black fixture lead or fixture lead without tracer
marks to hot (black) supply lead; white fixture lead or fixture lead
with tracer to neutral (white) supply lead. Green fixture wire is a
ground and must be connected to grounding terminal or ground
lead inside OUTLET BOX. Use WIRE NUTS (local hardware item).
Push connections back into OUTLET BOX.
4. Position FIXTURE HOUSING over MOUNTING SCREWS and allow
heads of MOUNTING SCREWS to come through KEYHOLE SLOTS
in FIXTURE HOUSING. Turn FIXTURE HOUSING until SCREWS
fully engage in narrow portion of KEYHOLE SLOTS and secure in
place by tightening MOUNTING SCREWS.
WIRE NUT
FIXTURE HOUSING
MOUNTING SCREWS
REFLECTOR ASSEMBLY
KEYHOLE SLOT
REFLECTOR SCREW
SHADE (IF PROVIDED)
5. Install recommended lamp(s).
CAUTION: MAXIMUM WATTAGE AS MARKED ON
FIXTURE MUST NOT BE EXCEEDED.
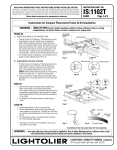
6. Re-install DIFFUSER to FIXTURE HOUSING. Align the three
bracket tabs with details in DIFFUSER, then rotate clockwise.
RETAINING
CLIP
Fig. 1
DIFFUSER
DIFFUSER
NOTCH
DIFFUSER
MOUNTING
TAB
PROTRUSION
OPEN
Fig. 2
LOCK
LIGHTOLIER a GENLYTE company.
631 Airport Road, Fall River, MA 02720