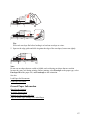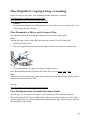
1
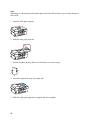
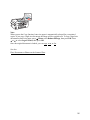
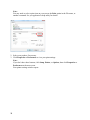
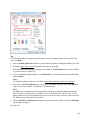
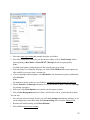
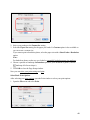
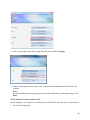
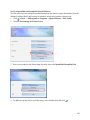
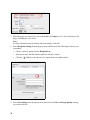
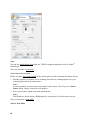
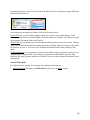
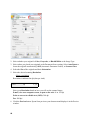
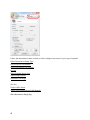
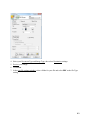
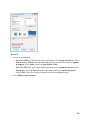
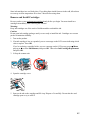
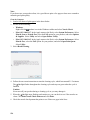
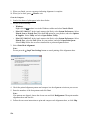
1. Press the
Menu button.
2. Press
or
to select Maintenance, then press OK.
3. Press
or
to select Daylight Saving Time, then press OK.
4. Select Summer if your region uses Daylight Saving Time (DST) and it’s currently in effect
(spring through summer). Otherwise select Winter.
Note:
When you change the setting from Winter to Summer, the clock is automatically set ahead
by one hour. When you change it from Summer to Winter, the clock is set back one hour.
5. Press OK.
6. Press
or
to select Date/Time, then press OK. You see this screen:
7. Press
or
to select the date display format, then press OK.
8. Use the numeric keypad to change the date, then press OK.
9. Press
or
to select a 12-hour or 24-hour display, then press OK.
10. Use the numeric keypad to set the time.
11. If you selected 12h, press
or
to select AM or PM.
12. Press OK.
13. Press
Menu to return to the Fax mode screen.
Select Send/Receive Settings
You can select the paper, sizing, and quality settings for your incoming and outgoing faxes, and
choose the printed reports you want.
1. Press the
2. Press the
Copy/Fax button, if necessary.
Menu button.
3. Press
or
to select Fax Settings, then press OK.
4. Press
or
to select Send/Receive Setup, then press OK.
5. To adjust any of the following settings, press OK:
•
Quality: sets the scan resolution and print quality of incoming and outgoing faxes. Select
Fine for small print or detailed line art, Photo for pictures, or Standard for basic faxes.
•
Contrast: sets the contrast when scanning and printing. Positive values make the image
darker, negative values make the image lighter.
59