1
Table of contents
Before Using the Product
Copyright6
Safety Precautions
7
Symbols7
Cleaning7
Storage8
Electricity and Safety
8
Installation9
Operation11
Preparations
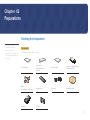
Checking the Components
15
Parts17
Control Panel
17
Reverse Side
19
Anti-theft Lock
21
Remote Control
22
Before Installing the Product
(Installation Guide)
24
Tilting Angle and Rotation
24
Ventilation24
Dimensions25
Installing the Wall Mount
Installing the Wall Mount Kit
Wall Mount Kit Specifications
26
26
27
Connecting and Using a Source
Device
Screen Adjustment
Before Connecting
Pre-connection Checkpoints
28
28
Connecting to a PC
Connection using the D-SUB cable
(Analogue type)
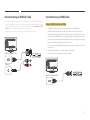
Connection Using an HDMI Cable
Connection Using an HDMI-DVI Cable
28
Connecting to a Video Device
Connection Using the AV Cable
Connection Using an HDMI-DVI Cable
Connection Using an HDMI Cable
30
30
31
31
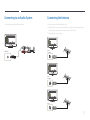
Connecting to an Audio System
32
Connecting the Antenna
32
Connecting to a TV Viewing Card slot
To connect the CI CARD, follow these steps:
33
33
Initial Setup
34
28
29
29
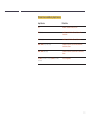
Changing the Input source
34
Source List34
Picture Mode35
If the input source is PC or
HDMI1 (when a PC is connected),
35
HDMI2 (when a PC is connected)
If the input source is TV, HDMI1, HDMI2 or AV35
Backlight / Contrast / Brightness /
Sharpness / Colour / Tint (G/R)36
Picture Size37
Picture Size37
Position39
Zoom/Position39
4:3 Screen Size40
Resolution Select40
Auto Adjustment41
PC Screen Adjustment42
PIP43
PIP Settings
43
Advanced Settings44
Dynamic Contrast45
Black Tone45
Flesh Tone45
RGB Only Mode45
Colour Space45
White Balance46
Gamma46
Motion Lighting46
Picture Options47
2