1
ENGLISH
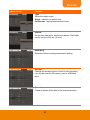
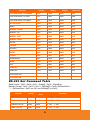
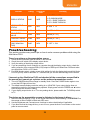
Function
Data[0]
CheckSum
Code
ReData[0]
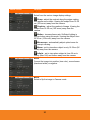
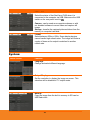
DISPLAY STATUS
0x06
0x5E
0: CAMERA MODE
1: PLAYBACK MODE
2: PC-1 PASS THROUGH
3: PC-2 PASS THROUGH
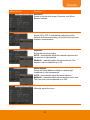
VIDEO OUTPUT
STATUS
0x07
0x5F
0: VGA 1: TV
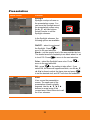
FREEZE STATUS
0x08
0x50
0 : OFF
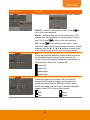
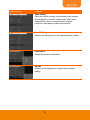
BRIGHTNESS
VALUE
0x0A
0x52
VALUE[ 0 ~ 63 ]
CONTRAST VALUE
0x0B
0x53
VALUE[ 0 ~ 255 ]
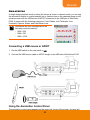
LIGHT BOX STATUS
(ONLY AVerVision
PL50)
0x0C
0x54
0 : OFF 1: ON
1: ON
Tr o u b l e s h o o t i n g
This section provides many useful tips on how to solve common problems while using the
AVerVision PL50.
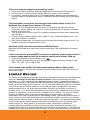
There is no picture on the presentation screen.
1.
2.
3.
4.
Check all the connectors again as shown in this manual.
Check the on/off switch of the display output device.
Verify the setting of the display output device.
If you are presenting from a notebook or computer through the display output device, check the
cable connection from computer RGB (VGA) output to RGB input of AVerVision PL50 and make
sure AVerVision PL50 is in PC Mode.
5. For HDMI display output, a delay occurs while waiting for both the display device and AVerVision
PL50 to sync up. Wait for around 4 to 7 seconds until you see the camera image on the screen.
I have set up the AVerVision PL50 and checked all the connections as specified in
the manual but I cannot get a picture on the preferred presentation screen.
1. The unit POWER button turns orange in standby mode. Press the POWER button again to turn
on and the LED light will turn blue.
2. The default camera display resolution setting is on 1024x768. If your output device does not
support this resolution; no image can be projected. Simply press hold the FREEZE and ► button
to the change the resolution setting.
3. If your display output device is on TV or any analog device, please switch the TV-RGB dip switch
to TV.
The picture on the presentation screen is distorted or the image is blurry.
1. Reset all changed settings, if any, to the original manufacturer default setting. Press DEFAULT on
the remote or select Default in Basic tab OSD menu.
2. Use the Brightness and Contrast menu functions to reduce the distortion if applicable.
3. If you discover that the image is blurry or out of focus, press the Auto Focus button on the control
panel or remote control.
39