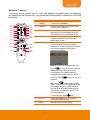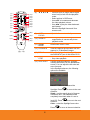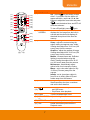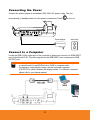
1
ENGLISH
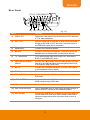
Re a r P an el
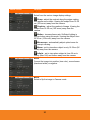
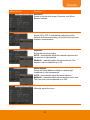
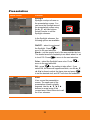
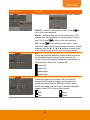
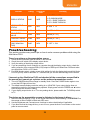
(1) (2) (3)(4)(5)(6)(7)
(8) (9) (10) (11) (12)(13)
(fig. 1.2)
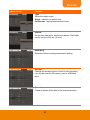
Name
Function
(1)
VIDEO OUT
Outputs the video signal from the AVerVision PL50 camera to
a TV or video equipment.
(2)
PC1 / PC2
Input the signal from a computer or other sources and pass it
through to the RGB 1/2 OUT port only. Connect this port to
the RGB/VGA output port of a computer.
(3)
Speaker port
Connect to an amplified speaker.
(4)
MIC port
Connect a 3.5mm plug microphone. The built-in mic will be
disabled when an external MIC is connected to this port.
(5)
TV - RGB switch
TV to output display video from VIDEO OUT, and RGB to
RGB 1/2, and HDMI OUT ports.
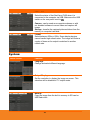
(6)
USB Flash Drive switch USB PC
(7)
RS-232
Switch to left (◄) for audio video recording directly to a USB
flash drive and right (►) when connecting AVerVision PL50
to a computer using a USB cable.
Connect to the computer serial port, or to any control panel,
or for centralized control if desire.
(8)
DC12V port
Connect the power adapter into this port.
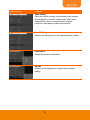
(9)
RGB 1 / RGB 2
Connect the AVerVision PL50 to any display device with
RGB cable
(10) HDMI OUTPUT
Connect the AVerVision PL50 to any display device with
HDMI interface using HDMI cable.
(11) SD card slot
Insert the SD card with the label facing up.
(12) USB Thumb Drive port
Insert a USB flash drive for audio video recording storage or
connect a AP20T/ mouse for the Annotation feature.
(13) Mini USB port
Connect to a USB port of a computer using a USB cable and
use the AVerVision PL50 as a USB Camera or transfer the
captured images/videos either from the memory source to
computer.
3