1
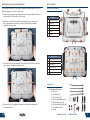
Reconfiguring Universal Laptop Mount
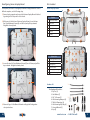
Parts Included
If at any time you need to reconfigure your Universal Laptop Mount to secure a
different computer, use the following steps.
Universal Laptop Mount
A
A
C
F
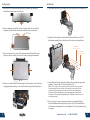
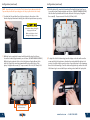
1) Remove laptop computer and ensure the Universal Laptop Mount is latched
by pushing in Side Trays until a click is heard.
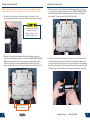
2) With access to the bottom of Universal Laptop Mount, loosen the two
Rear Tray Adjustment Screws (A) one full turn, and pull tray outward.
Retighten screws by hand.
C
A
Latch Release Handle
B
Front Fences
C
Rear Fences
D
Side Hold-down Lugs
E
Side Trays
F
Rear Tray
D
D
Top Plate
E
E
D
D
A
B
J
G
B
I
I
I
I
J
G
Bottom Plate
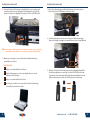
3) Loosen the two Side Tray Adjustment Screws (B) one full turn, and pull the
trays outward. Retighten screws by hand.
B
G
Rear Tray Adjustment Screws
H
Side Tray Adjustment Screws
I
Mounting Holes
J
Strain Relief Holes
K
Power Supply Mounting Area
L
Rugged Hub Mounting Area
H
J
L
J
K
J
B
1
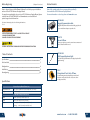
Hardware Kit
4) Return to Page 4 of this Owner’s Manual and begin the Configuration
set-up instructions.
10
J
K
H
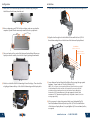
This Hardware Kit includes:
1. Zip Ties (4)
2. Star Washer (5)
3. 1/4”-20 Screws (5)
4. Hold-down lug Bumpers (4)
5. Tall Hold Down Lugs (4)
6. Hold-down Lug Vinyl Cap (4)
7. L-shaped Wrench (1)
8. Keys (2)
2
6
3
4
7
5
8
www.havis.com • 1-800-524-9900
3