1
Chapter 8: Installing, Removing, and Replacing Components
Removing and Replacing a Tape Drive
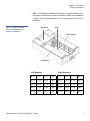
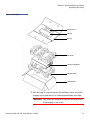
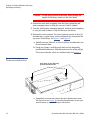
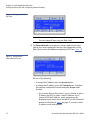
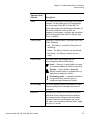
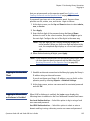
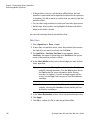
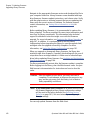
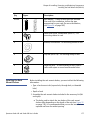
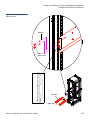
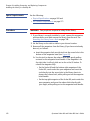
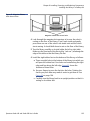
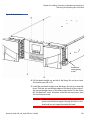
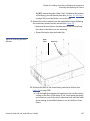
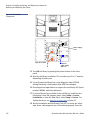
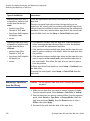
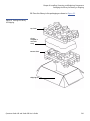
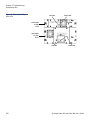
Figure 60 Installing a Tape
Drive
Notch in library
chassis
Drive sled “shelf”
slides in notch
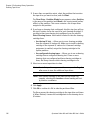
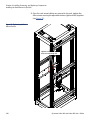
3 Tighten the tape drive’s captive thumbscrews finger tight to secure
the tape drive to the library chassis.
The tape drive LED illuminates red for up to 30 seconds. Then the
tape drive fan starts and the LED turns amber, indicating the tape
drive is offline. If this is a new installation (not a replacement), the
tape drive will come online automatically.
4 Connect the tape drive cable from the tape drive to the host.
5 If the firmware on the newly installed tape drive is different from
the standard configured on the library, the library will automatically
autolevel the new tape drive’s firmware upon installation (for more
information, see Updating and Autoleveling Tape Drive Firmware on
page 164).
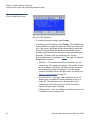
Autoleveling takes about 7 minutes. A message appears on the
operator panel indicating autoleveling is taking place.
If autoleveling is not required, the tape drive takes about 2 minutes
to come ready.
Quantum Scalar i40 and Scalar i80 User’s Guide
235