1
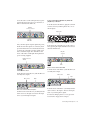
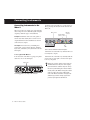
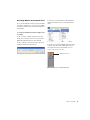
3 Set the Source to Mic (microphone) by press-
ing the Mic/DI Source selector on the front of
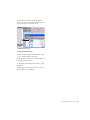
Mbox 2 until the Mic LED is lit.
Mic/DI
Source selector
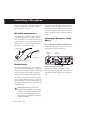
To use a microphone that has a 1/4-inch TS
(Tip-Sleeve) connector:
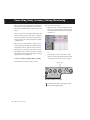
1 On the back of the Mbox 2, plug the 1/4-inch
connector from your microphone into one of
the DI inputs.
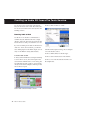
Input 1 DI
DI Mic
LED LED
Input 1 Source selector and LEDs
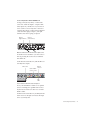
4 If your microphone requires phantom power,
make sure the microphone is connected, then
press the Phantom Power switch (labeled 48V)
on the front of the Mbox 2. This switch sends
48V to both mic inputs. The 48V LED on the
front of the Mbox 2 will light when phantom
power is being supplied.
Connecting a microphone to the Input 1 DI connector
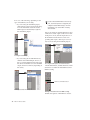
2 On the front of the Mbox 2, set the source to
DI by pressing the input channel Source selector
until the DI LED is lit.
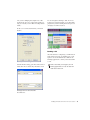
Mic/DI
selector
Phantom Power
switch
DI
LED
Input 1 selector switch and DI LED
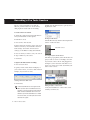
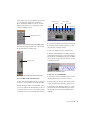
3 On the front of the Mbox 2, turn the Mix control fully left to Input.
Phantom Power switch
5 On the front of the Mbox 2, turn the Mix control fully left to Input.
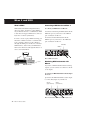
Mix control
Gain
Pad
Mic control
Gain
Input 1 Gain and Pad controls, and the Mix control
Mix control and Gain knob for Input 1
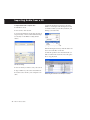
6 On the front of the Mbox 2, carefully turn the
Gain control to the right to increase the input
level of your microphone signal.
4 On the front of the Mbox 2, carefully turn the
Gain control to the right to increase the input
level of your microphone signal.
5 If the incoming signal is too loud, press the
Pad switch to engage the 20 dB pad.
Connecting a Microphone
5