1
Caution – DO NOT FORCE the power supply into a slot. This can cause damage to
the power supply and system.
The power supply should insert and seat smoothly. If it binds, remove it, and inspect
the slot for any obvious obstructions. Do not damage the springfingers at the bottom
of the power supply.
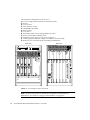
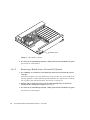
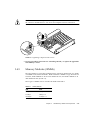
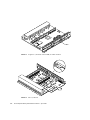
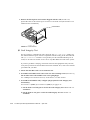
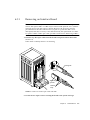
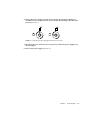
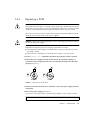
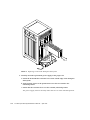
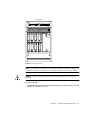
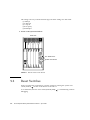
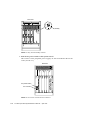
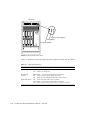
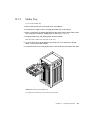
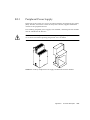
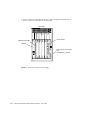
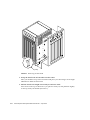
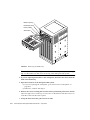
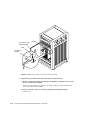
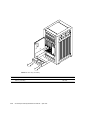
6. Slide the power supply toward the centerplane, then use the extraction lever to
seat the power supply (FIGURE 7-8).
Swing the lever inward to the locked position. Do not press on the front panel of the
power supply to seat it—doing so will damage the connector pins.( FIGURE 7-7).
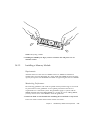
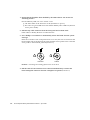
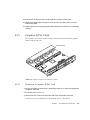
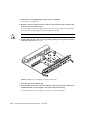
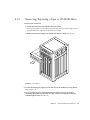
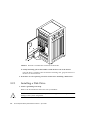
7. Lock the power supply to the system chassis by inserting a Phillips #1 screwdriver
into each quarter-turn access slot and then turning to the locked position
(FIGURE 7-7).
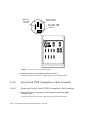
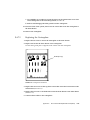
8. Check to be sure the green LED on the PCM is lit.
If the green LED is not lit, the power supply is not seated properly. Repeat Step 5 to
Step 8. If the green LED is still not lit, see Chapter 10 “Flow Diagrams for
Troubleshooting,” for more information.
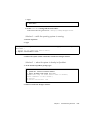
If the green LED is lit, you will see a message similar to the following example on
your system console:
NOTICE: Core Power Supply 5 Installed
NOTICE: Core Power Supply 5 OK
NOTICE: Redundant power available
Chapter 7
Power Supplies
7-15