1
Continuing the example of the SmartList described above,
consider that you wanted to create a view of all your audio
books, regardless of whether they were on tape or CD. There is
more than one way to configure a filter to accomplish this, but
the following is one example.
Edition = "audio on tape"
OR
Edition = "audio on CD"
With such a filter, the SmartList To Go handheld application
would display any record that met one or both of these criteria. In
this example, both criteria work with the same field, Edition, but
this does not have to be the case.
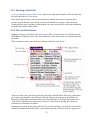
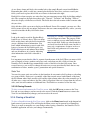
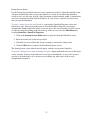
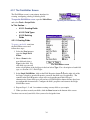
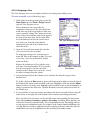
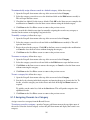
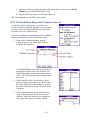
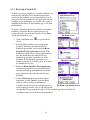
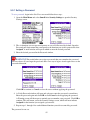
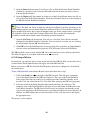
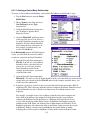
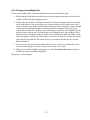
To create and configure a new filter, start in the Filters Editor screen and follow these steps. The
rectangle near the top of the screen encloses the controls for setting the first filter criteria.
1. Open the Filter pull-down menu at the top of the screen and select an unused filter slot.
2. Erase the default name and enter the desired name with your stylus on the line provided.
3. Open the First Field pull-down menu and select the field whose values you wish to test.
This pull-down menu contains the names of all the currently existing fields in the
SmartList. You cannot enter a constant in this input.
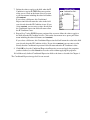
4. Open the Second Field pull-down menu and select the field whose values you wish to use to
test the value in the First field. This pull-down menu contains the names of all the currently
existing fields in the SmartList. To compare the value in the First Field to a constant, select
constant. This will insert a blank line in the input. Enter the text or numerical constant on
this line with the stylus.
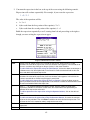
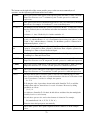
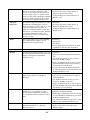
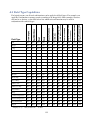
5. Open the Comparator pull-down menu and select how you want to compare the two values.
Refer to the table above for a description of the available comparators.
6. If you would like to create another filter criteria for this filter, open the Linking Operator
pull-down menu and select AND or OR, then repeat steps 3, 4 and 5. If you do not wish to
create another criteria, continue to the next step.
7. Click OK to create the new filter or click Cancel to abort your changes and close the Filters
Editor screen without creating the filter. If you click OK, the new filter's name will now
appear on the Filters pull-down menu
The filter is now created.
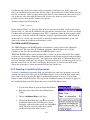
To change the configuration of an existing filter, start from the Filters Editor screen. Open the
Filter pull-down menu and select the name of the filter you want to change. Then follow steps
three through seven from the process above.
89