1
accidental problem such as a power interruption during
upgrading. If the Data Solution Module or other equipment
is not recognized properly after power is restored, consult a
Sony dealer.
Chapter 1 Installation and Preparation
Turning the System Off
1
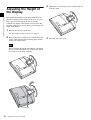
Press the
(Power) switch twice.
After pressing the switch once, the message “To enter
standby mode, wait for a few moments. To turn off the
power, press the power switch again.” appears. Press
the power switch again.
2
Turn off the power of other equipment used for the
videoconference.
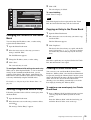
Adjusting the Picture Quality
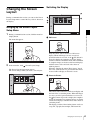
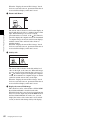
Use the Display Setup menu to adjust the picture quality.
For details, see the section “Adjusting the Picture Quality
on the Display” on page 89.
Displaying Help
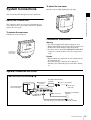
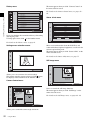
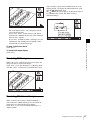
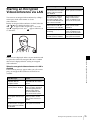
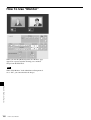
Move the mouse cursor to the item you want to check, and
right-click the mouse to display context-specific help
window.
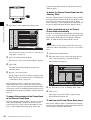
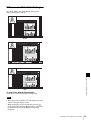
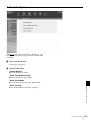
Displaying Version and Option
Information
Notes
• Turn the power to the system off when the system
will not be used for an extended period. While the
power is off, you cannot receive a call from a remote
party.
• When using the system as a computer display in PC
mode, the power turns off with one press of the
power switch.
• During a conference, the power switch does not
function.
Setting the Video Communication
System to Standby Mode
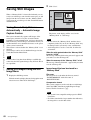
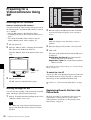
When you press the
(Power) switch on the PCS-TL33,
the message “To enter standby mode, wait for a few
moments. To turn off the power, press the power switch
again.” appears on the display. If you do not click the
“Cancel” button, the system will go into standby mode.
You can receive a call from a remote party in the standby
mode.
To return to normal mode from standby mode, press the
power switch once.
Adjusting the Volume
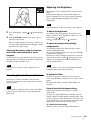
Press the
(Volume) button on the PCS-TL33 to set the
volume level as required.
Note
The volume can be adjusted separately for the
videoconference and for the computer display.
18
Turning the System On/Off
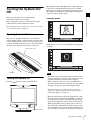
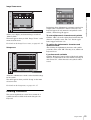
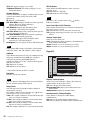
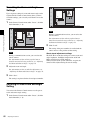
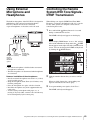
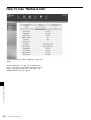
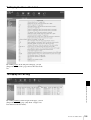
You can check version information for Video
Communication System, any dedicated optional
equipment, and the software by displaying the Status &
Info menu.
For details on the Status & Info menu, see “Status & Info
Menu” on page 51.