1
ENGLISH
ESPAÑOL
FRANÇAIS
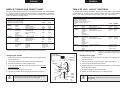
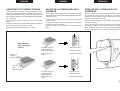
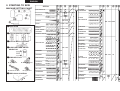
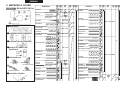
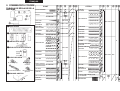
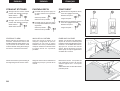
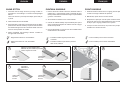
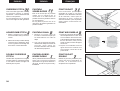
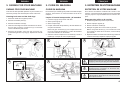
STRAIGHT STITCHES
PUNTADA RECTA
POINT DROIT
1 Straight stitch at center needle
position with following settings;
1 Puntada recta posición aguja en
el centro realizar los siguientes
ajustes:
1 Point droit avec l’aiguille au centre,
suivre les réglages suivants :
Stitch selector Stitch width control 2 Straight stitch at left needle
position with following settings;
Stitch selector Stitch width control -
Selector puntada Selector ancho puntada 2 Puntada recta en posición aguja
en la izquierda realizar los ajustes
siguientes:
Selector puntada -
Sélecteur de point :
-
Largeur de point : 2 Point droit avec aiguilles à gauche,
suivre les réglages suivants :
Sélecteur de point :
-
Largeur de point : -
Selector ancho puntada -
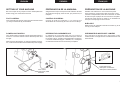
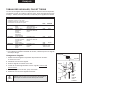
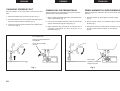
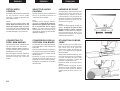
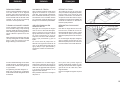
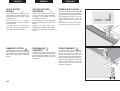
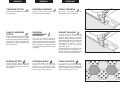
STARTING TO SEW
INICIO DE LA COSTURA
FAIRE UNE COUTURE
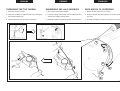
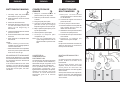
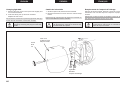
Before placing the material on the
machine, see that the ends of the
threads have been drawn about 6” (15
cm) to the rear of the machine. Hold
onto the threads during the sewing of
the first 3 or 4 stitches of the seam.
Antes de colocar el tejido en la
máquina, asegurarse de que los
extremos de los hilos se hayan
estirado unos 15 cm. por detrás de la
máquina. Sostener los hilos durante
la costura de las 3 ó 4 primeras
puntadas.
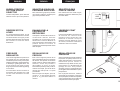
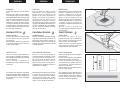
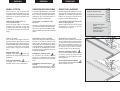
Vérifiez, que les deux fils dépassent
de plus de 10 cms à l’arrière du pied
presseur. Piquez l’aiguille dans le tissu
à environ 1 cm du début de la couture.
Appuyez sur le levier de marche
arrière. Piquez lentement en point
arrière jusqu’ à ce que l’aiguille arrive
au début de la couture.
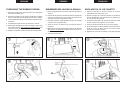
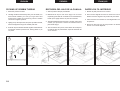
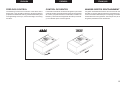
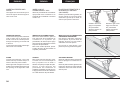
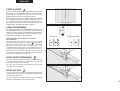
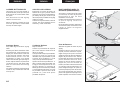
Fasten each seam by back tacking at
the beginning and end of the seam.
Asegurar cada costura realizando el
atacado al principio y al final de la
costura.
Exécutez la couture. Lors-qu’elle est
finie, abaissez le levier de marche
arrière et piquez sur 1 cm en point
arrière.
Veillez à bien tenir les deux fils lors des
premiers points.
28
1
2