1
Chapter 5 Performing System Maintenance
z
Troubleshooting
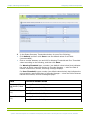
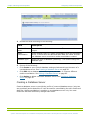
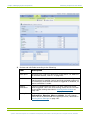
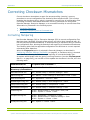
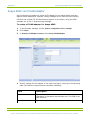
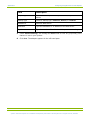
Launch the appropriate software tool (which accompanies the voice card) to check
the card. If the card(s) of interest is not visible on the Voice Cards Tab, then it is
possible that the Recorder did not recognize the card.
All voice cards should also be visible in the device manager under windows.
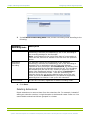
Checking Wiring
Wiring changes for Trunk and Extension tapping are necessary when there are any
hardware changes such as adding, removing and replacing voice cards in the Recorder.
Wiring changes include replacing input cables and wires into the card from telephone
tapping sources.
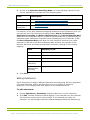
In all the following scenarios you can use the Ai-Logix SmartView Tool to detect if there
are any Framer Errors on the card. Framer Errors occur when time synchronization
is lost between the local clock and the start of a frame signal. In addition to any loss of
signal, the Recorder's Capture components raise a loss of signal alarm.
Suggested cable lengths for T1 and E1 DP cards are 15 meters (52 feet) and 30 meters
(98 feet) respectively from the tap to the card. For wiring diagrams refer to the
Ai-Logix documentation.
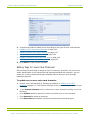
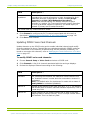
To add a new voice card:
1
Restart the Capture Component and let it detect the newly added card.
2
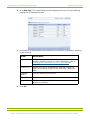
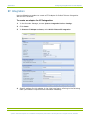
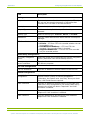
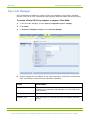
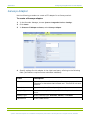
Log onto Recorder Manager and select General Setup > Voice Cards and
configure the card as described in Changing Voice Cards/NICs on page 215.
3
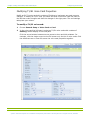
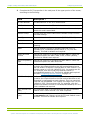
Make sure the Card has been initialized properly and identify the card with in the
host as described in Checking Voice Cards on page 233.
4
Plug in the wiring/cables into the voice card you just added.
Refer to the appropriate card documentation to ensure that a crossover cable
is not required.
5
Add the associated extensions as described in Adding Extensions on page 225.
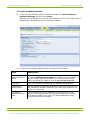
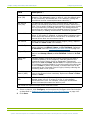
To replace an existing voice card:
1
Restart the Capture Component and let it detect the replaced card.
2
Log onto Recorder Manager and select General Setup > Voice Cards and
configure the card as described in Changing Voice Cards/NICs on page 215.
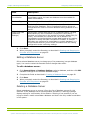
3
Make sure the card has been initialized properly and identify the card with in the
host as described in Checking Voice Cards on page 233.
4
Copy the configuration from the removed card onto the replaced card.
5
Delete the removed card.
6
Plug in the wiring/cables into the voice card that was replaced.
System Administration Guide
© 2005 - 2008 Verint Systems Inc. Confidential and Proprietary Information of Verint Systems Inc. All rights reserved, worldwide.
234