1
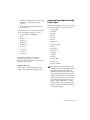
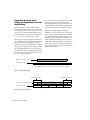
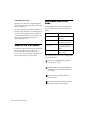
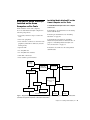
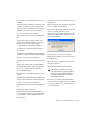
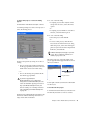
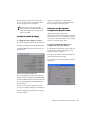
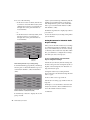
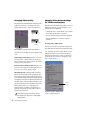
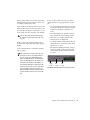
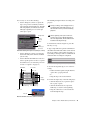
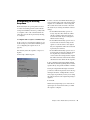
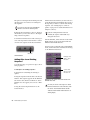
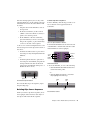
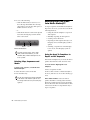
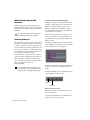
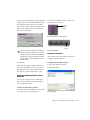
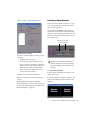
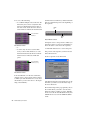
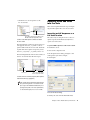
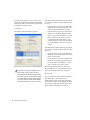
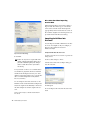
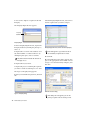
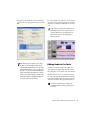
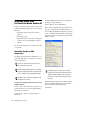
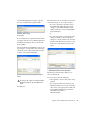
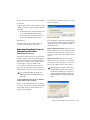
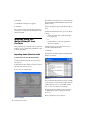
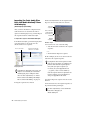
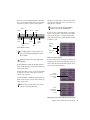
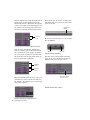
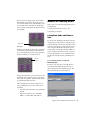
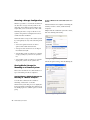
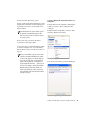
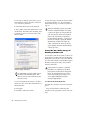
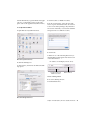
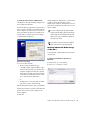
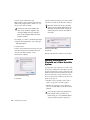
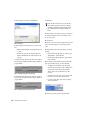
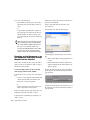
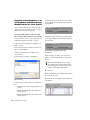
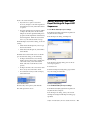
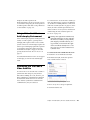
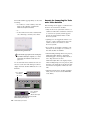
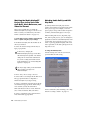
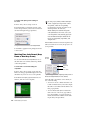
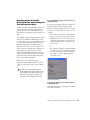
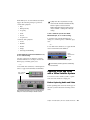
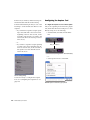
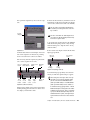
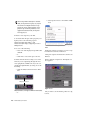
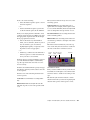
To import non-OMFI media files into
Media Station|PT:
1 Open the bin where you want the imported
file to be stored.
2 Select File > Import.
5 Select the Audio Import Options.
Unlike Pro Tools, Media Station|PT supports audio files of mixed sample rate and
bit depth in the same sequence. Therefore, it
is not necessary to convert all audio files to
the same sample rate and bit depth on import into Media Station|PT. You will have
the option to convert audio files to a single
sample rate and bit depth when you export
them from Media Station|PT, and again
when you import them into Pro Tools.
6 Select the volumes to store the new media
files. Pro Tools requires that audio and video
media must be stored on physically separate
drives. Click the button to the left of the volume
selector until there are separate selectors for audio and video, then select the desired drives for
each.
Select Files to Import dialog
3 In the Select files to Import dialog, locate and
select one or more files to import.
4 Select the video resolution for selected files.
When importing QuickTime DV25, you can
save time by importing it as DV25. The process of converting Quicktime DV25 to Avid
DV25 is optimized to be significantly faster
than other conversions. Since both
Media Station|PT and Pro Tools with Avid
video peripherals support mixed video resolutions in the Timeline, it does not matter if
the other video clips in your project are different formats, as long as they are the same
frame rate.
Separate drives for audio and video
7 Click Open.
The selected files are imported into the selected
bin.
Chapter 3: Basic Media Station|PT Workflows
53