1
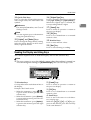
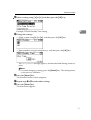
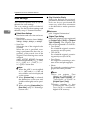
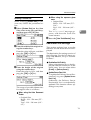
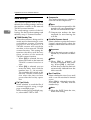
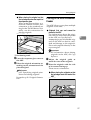
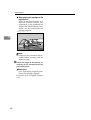
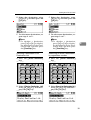
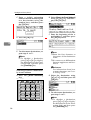
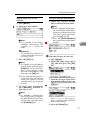
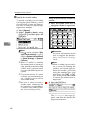
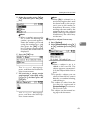
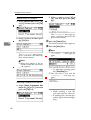
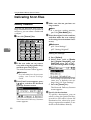
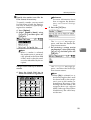
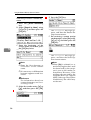
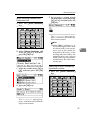
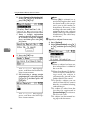
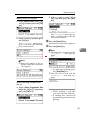
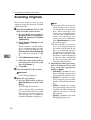
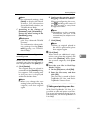
Scanning Originals Note For advanced settings, click [Detail] to display the Detail window. For information about the Detail window, see TWAIN driver Help. C According to the settings of [Document] and [Orientation:], change the other setting of the [Document] group. Reference p.29 “For a Network TWAIN Scanner” For information about making settings for the [Document] group, see TWAIN driver Help. When you want to configure the scanning area When you do not configure the scanning area, the area scanned is the size specified in the [Size:] box. A Click [Preview]. The original that was placed is scanned and the [Preview] dialog box appears. The scanning area in the preview is displayed within the broken lines. Note When you change the scan settings after previewing the original, scan that original again. B Configure the scanning area by dragging a border or a corner. When reconfiguring the area, click and drag one corner of the area towards or away from its opposite corner. Note Depending on the scanning resolution, the area to be scanned may be subject to restrictions. C Click [Close]. Note When an original placed in the ADF is previewed, place that original again. D Click [Scan]. When there are additional originals to scan, place the original, and then click [Continue]. When there are no more originals, click [Complete]. 6 E Save the scan file in DeskTopBinder V2 Lite. A On the [File] menu, click [Exit]. B Enter the file name, and then click [OK]. The scan file is stored in DeskTopBinder V2 Lite, and DeskTopBinder Viewer closes. -Editing and printing scan files With DeskTopBinder V2 Lite, it is possible to edit and print scan files. For more information about how to edit and print, see DeskTopBinder V2 Lite Help. 63