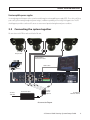
1
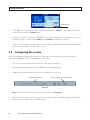
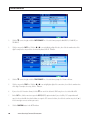
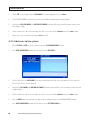
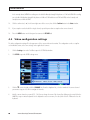
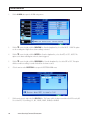
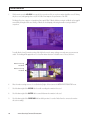
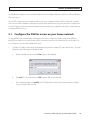
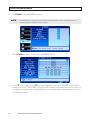
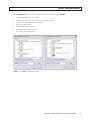
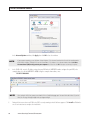
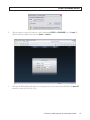
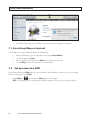
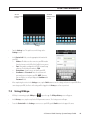
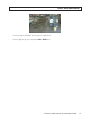
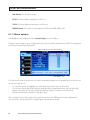
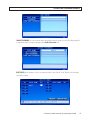
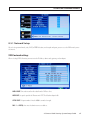
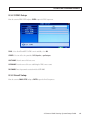
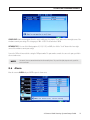
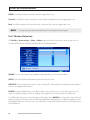
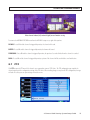
SECTION 4: DVR SETUP
5.
Click the q icon at the right end of the POSITION line. The position option selects where the camera channel NAME
appears on the live display. Choose one of the flowing: U-L (upper left), D-L (lower left), U-R (upper right), or D-R (lower
right).
6.
Click the q icon at the right end of the LIVE line. In the dropdown list, select ON (to view video from the camera on the
Live screen), or OFF.
7.
On the COLOR line, click the >> icon to open the COLOR SETUP window.
The COLOR SETUP window is superimposed on the video image from the camera channel you selected. Adjust the markers
for the HUE, BRIGHTNESS, CONTRAST, and SATURATION to produce the best picture from the camera.
8.
Click the confirm icon ( a) in the lower right corner of the screen, then click the Confirm button in the Note window.
9.
If you setup the record schedule for a single channel, repeat this procedure to setup the record schedule for other channels.
4.4.1 Video setup
The VIDEO SETUP menu provides configuration settings for the monitor screen resolution, sequential live view settings, and video
blocking.
1.
Click the Settings icon on the Tool Bar to open the SYSTEM tab window.
2.
Click VIDEO to open the VIDEO settings menu.
3.
On the VIDEO SETUP line, click the >> icon to open the VIDEO SETUP menu.
4-Camera H.264 Security System Setup Guide
21