1
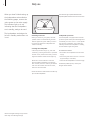
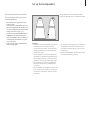
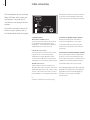
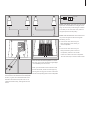
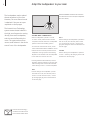
9 FREE Position zones: The three settings (FREE–WALL–CORNER) corresponds to the position zones marked in different shades of grey shown here. The position zones and the examples shown below, are meant as guidelines – you may, of course, set the switch to any of the three settings you prefer. WALL CORNER If you have a BeoLab 2 subwoofer setup … As explained in the BeoLab 2 Guide, the subwoofer has a setup switch which can be set to 1, 2 or 3. The settings of this switch will adapt the output from BeoLab 2 to the sensitivity levels of different loudspeakers. Example 1: The loudspeakers are placed in one end of the room, but not against the back wall, and not near the side walls. Therefore, the switch should be set to FREE on both loudspeakers. Example 2: One loudspeaker is placed against the wall, and the other is placed in a corner. Therefore, the left loudspeaker should be set to WALL, and the right loudspeaker should be set to CORNER. Example 3: As in example 2, one loudspeaker is placed against the wall, and the other is placed in a corner. The shape of the room has no influence on which setting to select. Therefore, the left loudspeaker should be set to WALL, and the right loudspeaker should be set to CORNER. If you set up a pair of BeoLab 9 loudspeakers in a system with BeoLab 2, we recommend that you set the BeoLab 2 SETUP switch to 1.