1
2. Initial Setup
2.1. Position of the Camera
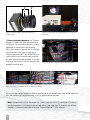
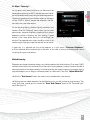
The camera can be mounted on the right or left side of the projector:
Size of the scan object /
scan area
Position of the Camera
(seen from rear)
up to 110 mm
to the left of the projector
110 to 350 mm
optional, better to the left
from 350 mm
to the right of the projector
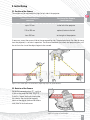
If necessary, mount the camera slide to the corresponding side. The exact position of the slide (distance
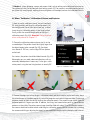
from the projector) is set later in operation. The distance between the camera and projector optics will
be similar to the size of the object/region to be scanned.
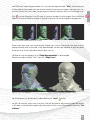
Figure 2.1: Left: Small object Z short distances; Right: Large object Z greater distances
2.2. Rotation of the Camera
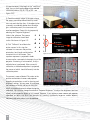
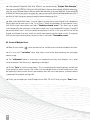
Rotate the camera by about 22° such that
it aims at the projection area. (Fig. 2.2)
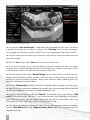
To do this, loosen the thumbscrew under
the camera. Set the rotation angle by
means of the degree scale on the camera
slide, then fix the thumbscrew.
Figure 2.2: Setting the camera angle
29