1
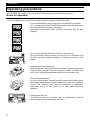
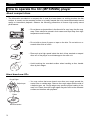
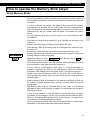
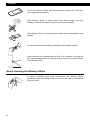
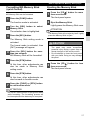
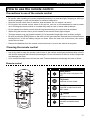
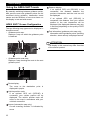
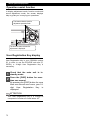
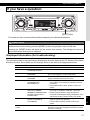
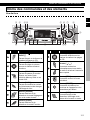
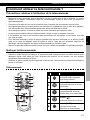
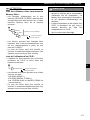
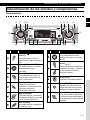
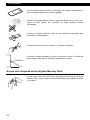
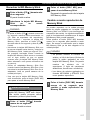
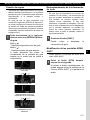
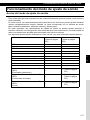
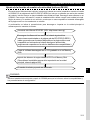
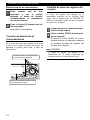
How to operate the AREA SHOT function (U.S.A. and CANADA only)
ATTENTION
When using a Memory Stick:
• Data downloaded from the ECLIPSE web
site (E-iSERV) can be saved in folders on
the Memory Stick as follows:
MSFTEN
User creation
AREA
XXXXXXXX.ast
Automatic creation
File extension
• Files that can be imported into the main unit
are created automatically when downloaded
from the E-iSERV web site.
• All of the searched route maps and
guidance information are stored in these
files created automatically.
• The file name can be changed using 8
alphameric characters (space cannot be
used).
When using a CD-R:
• The main unit can only import files from CDR that have been written in root directories.
XXXXXXXX.ast
Automatic creation
File extension
• Disc formats that may be used are as
follows:
•CD-ROM (MODE 1)
•CD-ROM (MODE2_FORM 1)
*CD-ROMs written in MODE2_FORM2 cannot
be read.
• The file name can be changed using 8
alphameric characters (space’s cannot be
used).
Changing the AREA SHOT
mode
1
Press the [MUTE] button for more
than one second.
Guidance maps, intersection street
names and turning directions are
displayed on the screen. Pressing and
holding the [MUTE] button (for 1
second or more) a second time closes
the Area Shot mode.
ATTENTION
• Pressing any button other than [ ], [ ],
[DISP] and [RTN] displays the audio control
screen enabling audio system operation. If
no button is pressed within 6 seconds, the
guidance screen returns.
• If the audio control screen is displayed
while the Area Shot mode is ON, pressing
the [RTN], [ ], [ ] or [DISP] buttons
displays the guidance screen.
CAUTION
• Modes may not be changed if guidance
data has not been imported properly.
• Do not look at the screen while driving.
CAUTION
Do not turn the power or ignition switch off
while reading. Interrupting reading process
might corrupt the data.
45
IX