1
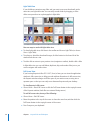
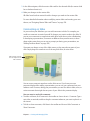
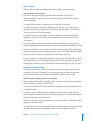
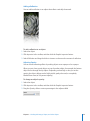
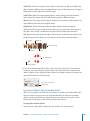
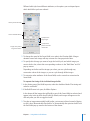
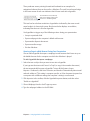
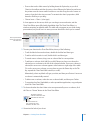
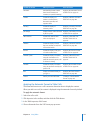
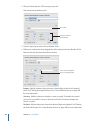
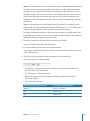
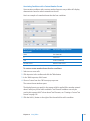
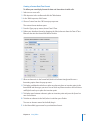
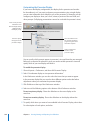
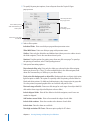
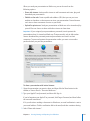
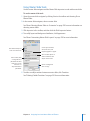
Image Bullets: Uses an image (for example, a pushpin or a fleuron) as a bullet. Select
one from the list. To change the bullet size relative to the text, specify a percentage
of its original size in the Size field, or select the “Scale with text” checkbox and specify
a percentage of the text size; this option maintains the image-to-text size ratio of the
bullets even if you later change the font size of the text.
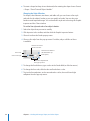
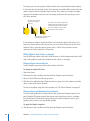
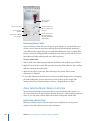
Custom Image: Lets you use your own image as a bullet. Locate the image you want
in the Open window, and then click Open. To change the bullet size relative to the text,
specify a percentage of its original size in the Size field, or select the “Scale with text”
checkbox and specify a percentage of the text size; this option maintains the imageto-text size ratio of the bullets even if you later change the font size of the text.
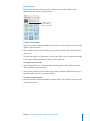
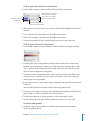
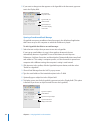
Numbers: Creates a numbered list. Choose a numbering style (for example, Roman or
Arabic numerals) from the pop-up menu. To continue a previous list, select “Continue
from Previous.” Otherwise select “Start at” and type a number in the field.
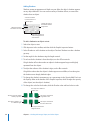
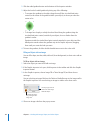
Tiered Numbers: Creates a hierarchical numbered list. Choose a numbering style (for
example, Roman or Arabic numerals) from the pop-up menu. To continue a previous
list, select “Continue from Previous.” Otherwise select “Start at” and type a number in
the field.
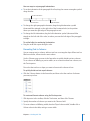
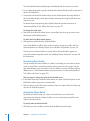
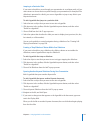
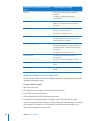
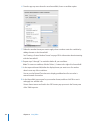
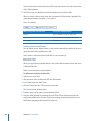
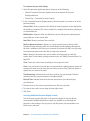
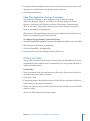
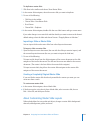
3 If you want subordinate points in your list to have a different numbering (or bullet)
style—this is usually the case with tiered (hierarchical) lists—click the Indent Level
button to the next level and then select a new numbering style (or bullet style).
Repeat this for each indentation level you want to set for your list hierarchy.
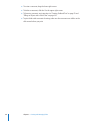
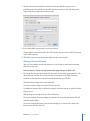
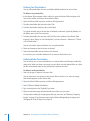
4 To adjust the space between bullets or numbers and the left margin, specify a value in
the Bullet Indent or Number Indent field.
5 To adjust the space between bullets or numbers and their text, specify a value in the
Text Indent field.
6 To position bullets or numbers higher or lower relative to their text, use the Align field.
About Free Text Boxes and Text in Shapes
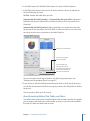
If you want to add text outside the placeholder text areas on a slide, you can add a
text box to a slide. Text boxes have no bullets (but you can add them) and are perfect
for adding captions to images, adding labels to organization charts or other visual aids,
or simply adding any text that you want to separate from the headings or main body
bullet points on your slides. If you want to place text within a nonrectangular shape, or
if you want to have more control over the color, edges, and style of the text’s container,
put text inside a shape.
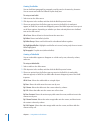
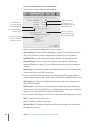
Adding a Free Text Box
Place a free text box on any slide. Placing it on a slide master is a quick way to add
it to every slide based on that master; for example, if you want to place copyright
information at the bottom of every slide.
Chapter 4    Working with Text
61