1
XJ-SK650_Setup_e.book 2 ページ
2013年1月28日 月曜日 午後8時5分
XJ-SK650 Overview
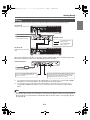
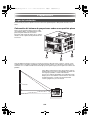
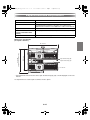
The XJ-SK650 Projector System uses a Control Box to sync two projectors so their output looks and
acts as if it is coming from a single projector. A powerful collection of projected image shaping functions,
enables clear image projection not only onto a flat screen, but also onto curved and irregular surfaces.
Important!
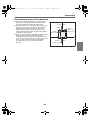
z After the Projector System has been installed and adjusted, do not alter the cabinet position or
positions of the projectors inside the cabinet, the projector zoom ring settings, or the screen
position.
Any changes to the above will require re-adjustment of the Projector System.
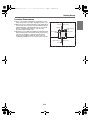
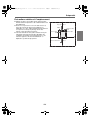
z When installing the Projector System or when adjusting the cabinet, take care to avoid getting
your hands pinched under the cabinet or by door in the back of the cabinet.
Unpacking
Before getting into setup of the Projector System, take a few moments to make sure that all of the items
listed below are included.
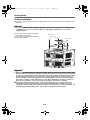
z XJ-SK650 Setup Guide (This manual)
z Cabinet*
z Feet ×4 (for placement on a flat surface)
z Control Box (YA-S10)*
z Projectors (XJ-H2600) ×2*
z Control Box remote controller (YT-200)
z Control Box AC adapter and power cord
z Projector remote controller (YT-120)
z Projector power cords ×2
z Remote controller batteries (AAA-size, test use) ×4
z HDMI cables ×2
z RS-232C cables ×2
z Mini D-Sub Cable
z DATA PROJECTOR Quick Start Guide
z DATA PROJECTOR “Read this first” Sheet
z Projector (XJ-H2600) Warranty Certificates ×2
z Control Box (YA-S10) Warranty Certificate
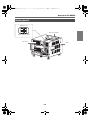
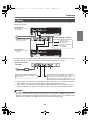
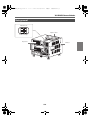
* The Control Box and two projectors are installed in the cabinet at the factory.
E-2