1
AXIS 215 PTZ-E Installation Guide - Appendix A
Page 63
Installing audio and I/O cables
AXIS 215 PTZ-E Network Camera is delivered without hardware support for audio and I/O. However
it is possible to install cables for these.
Important!
Follow these steps to install the audio and I/O cables:
1.
2.
3.
4.
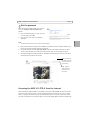
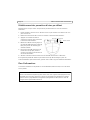
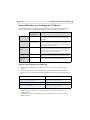
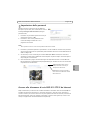
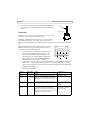
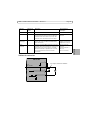
Remove the wall bracket (FIG.1).
Remove the sunshield (FIG.2).
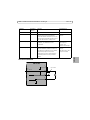
Unscrew the cable gland (FIG.3).
Cut and remove the rubber gasket.
Be sure not to damage the cables while removing the rubber gasket. Once removed, the
rubber gasket is no longer usable and the IP66 rating no longer valid.
FIG.1
Wall
bracket
FIG.2
FIG.3
Cable
gland
Sunshield
Rubber
gasket
Cable
gland
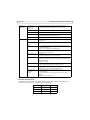
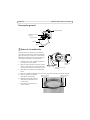
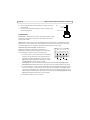
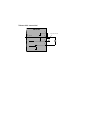
5. Remove the top by unscrewing the 3 screws (FIG.4).
6. Remove the dome by loosening the 4 screws (FIG.5).
7. Remove the black (fan and heater) ring by unscrewing the 4 screws (FIG.6).
FIG.4
FIG.6
FIG.5
Dome
Black ring
ENGLISH
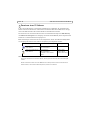
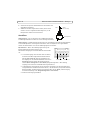
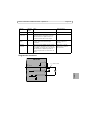
• Cables for audio and I/O must be installed by an authorized technician
• Installing audio and I/O cables will nullify the IP-66 rating and AXIS 215 PTZ-E will no
longer be suitable for outdoor use