1
Page 11
2.3 Mounting the Controller :
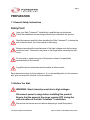
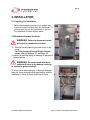
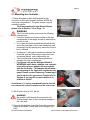
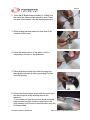
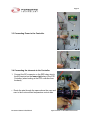
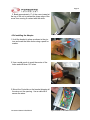
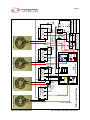
1. Place the adhesive back drill template for the
Controller in the lowest possible location INSIDE the
stove rear compartment. The photo shows a typical
mounting location
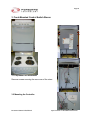
For Front-mounted Control Switch Stoves,
please refer to Section: 3.2 on Page: 18
WARNING
•
•
•
•
•
The Controller location must meet the following
requirements:
It must be placed as low as possible in the rear
compartment of the range in order to minimize exposure to heat.
In no case should the template be placed directly
above the terminals for the oven element as heat
escaping from the opening may cause the Controller to overheat.
A minimum 1 inch gap is maintained between the
Controller and any other range component such
as terminal blocks, oven components, etc.
The controller and all wires are completely enclosed in the rear compartment.
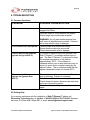
For Stoves such as the Whirlpool Model #
WERE3000 which have a shallow rear compartment will require an adaptor kit to accommodate the Controller . This adaptor kit will allow
the mounting of the Controller outside the rear
panel. Please contact Pioneering Technology if
one is required for your stove). Please refer to
Section: 4 on page:23 for more details on in
stallion of this kit.
A minimum of ¼ inch is maintained between the tallest component on the Controller and the rear cover.
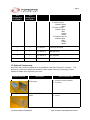
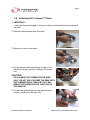
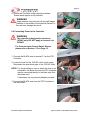
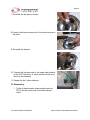
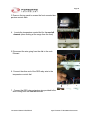
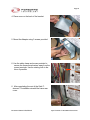
2. Drill 4 holes using a 3/16” drill bit.
WARNING
Be careful to drill through the rear panel only.
Drilling deeper than ½ inch will cause damage to
the oven wall.
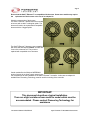
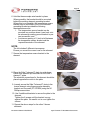
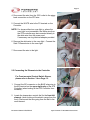
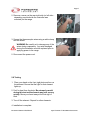
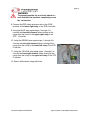
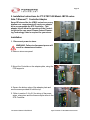
3. Remove the template. Insert the Controller mounting
supports as shown. (Insert wide end of support into
hole)
Document Number PTI STE50 E
Safe-T-element ™ Installation Instructions