1
❑
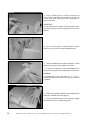
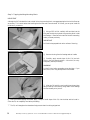
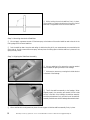
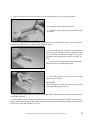
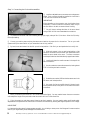
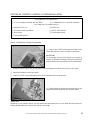
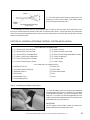
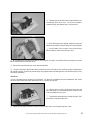
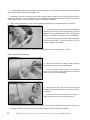
Repeat the previous procedures to install the second aileron on the other half of the wing.
Step 2: Hinging the Elevator Halves and Rudder
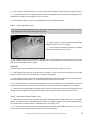
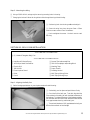
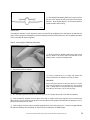
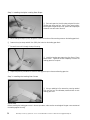
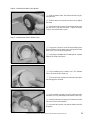
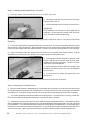
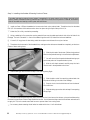
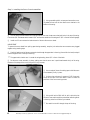
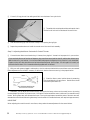
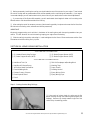
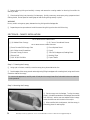
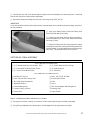
❑ Hinge the elevator halves and the rudder using the same methods as for the ailerons. When aligned properly, the
outer tips of the elevator halves and rudder should be even with the tips of the stabilizers. Be sure to check the integrity
of the hinges, after the C/A has fully cured, by pulling gently on the control surfaces.
SECTION 13: TAIL WHEEL INSTALLATION
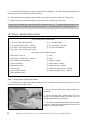
YOU'LL NEED THE FOLLOWING PARTS:
❑ (1) Prebent Tail Wheel Wire w/Nylon Bracket
❑ (1) Nylon Adjustable Control Horn
❑ (1) 40mm Diameter Wheel
❑ (4) 3mm x 15mm Socket-Cap Screws
❑ (1) 3mm Nylon Spacer
❑ (4) 3mm Flat Washers
❑ (1) 3mm Wheel Collar
❑ (3) 3mm x 5mm Machine Screws
YOU'LL NEED THE FOLLOWING SUPPLIES:
❑ # 1 Phillips Head Screwdriver
❑ Ernst Airplane Stand
❑ 1.5mm Hex Wrench
❑ Ruler
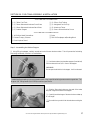
Step 1: Installing the Tail Wheel Bracket Assembly
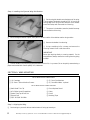
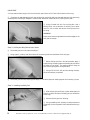
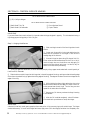
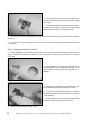
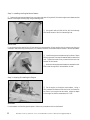
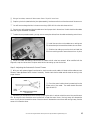
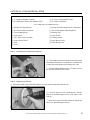
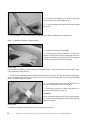
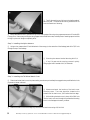
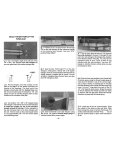
❑ Adjust the tail wheel wire so that the threaded arm is
1/2" below the bottom edge of the nylon bracket.
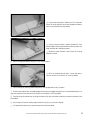
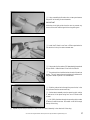
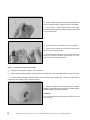
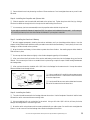
❑ When satisfied with the alignment, hold both wheel
collars against the nylon bracket and install and tighten
the two 3mm x 5mm machine screws.
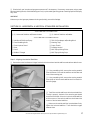
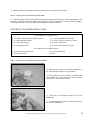
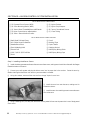
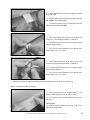
❑ Thread the nylon adjustable control horn onto the
threaded arm.
☞ The outer edge of the control horn should be flush with
the end of the threaded arm.
See other exciting Modeltech ARF airplanes at http://modeltech.globalhobby.com
21