1
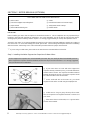
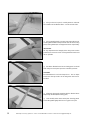
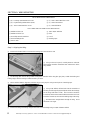
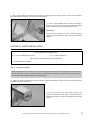
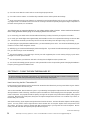
❑ Mix a small quantity of 5 minute epoxy and apply a generous layer to the gluing surfaces on the vertical stabilizer,
horizontal stabilizer and in the slot in the back of the fuselage.
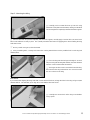
❑ Set the vertical stabilizer back into place and realign it.
Remove any excess epoxy using a paper towel and rubbing
alcohol, and hold it in position until the epoxy sets up.
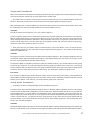
IMPORTANT
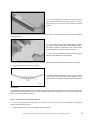
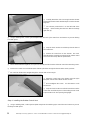
While the epoxy is setting up, use a builder's triangle to
ensure the vertical stabilizer is aligned 90º to the horizontal
stabilizer.
SECTION 11: MOTOR INSTALLATION
YOU'LL NEED THE FOLLOWING PARTS:
❑ (2) 2.5mm x 8mm Machine Screws
❑ (2) 2.5mm Flat Washers
YOU'LL NEED THE FOLLOWING TOOLS AND SUPPLIES:
❑ # 1 Phillips Head Screwdriver
Step 1: Installing the Motor
Before installing your motor, make sure you have soldered the motor wires and noise-suppression capacitors to the
back of your motor. It's also a good idea to break in your motor before installing it. If you haven't done so already, turn
back to page # 8 and follow the motor break-in procedures.
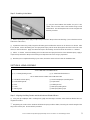
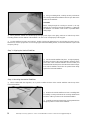
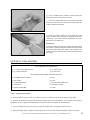
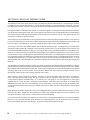
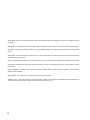
❑ Slide your motor through the hatch opening and line up the two threaded holes in the front of your motor with the two
predrilled holes in the motor plate.
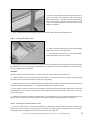
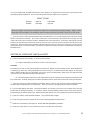
❑ Mount the motor to the motor plate using the two
2.5mm x 8mm machine screws and two 2.5mm flat washers.
Tighten the machine screws firmly to hold the motor securely
in place.
Visit our website at http://watt-age.globalhobby.com for information on other Wattage products
17