1
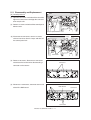
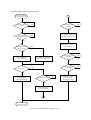
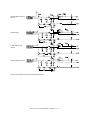
(4) After a short time, the value in Zone “B” will
automatically stop changing and, at the
same time, the message will also change as
shown below.
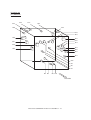
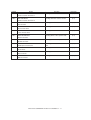
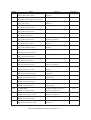
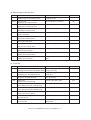
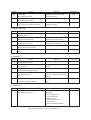
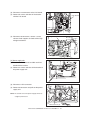
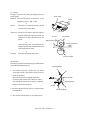
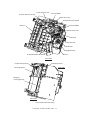
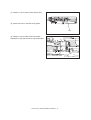
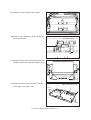
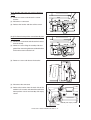
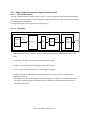
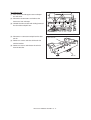
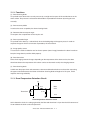
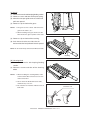
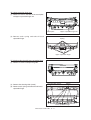
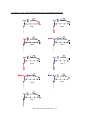
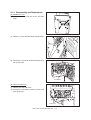
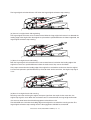
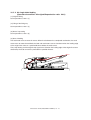
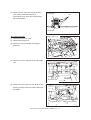
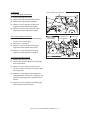
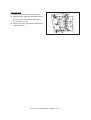
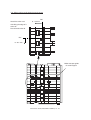
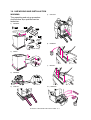
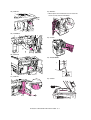
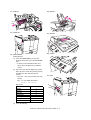
56) PLUG IN
AR-S810
(Japan only)
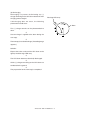
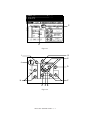
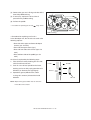
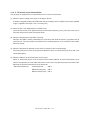
(5) In this status, check that the value in Zone
“B” is in the range of 245 to 255 (auto-toner
sensor output range of 2.45V to 2.55V).
(6) If the value in Zone “B” is in not in the range
of 245 to 255, use the [ Down] / [ Up]
keys to adjust the value.
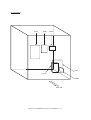
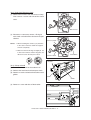
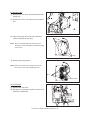
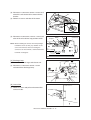
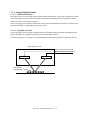
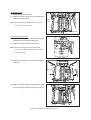
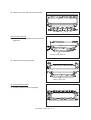
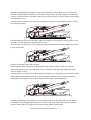
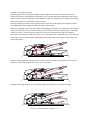
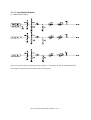
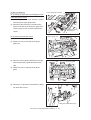
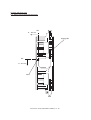
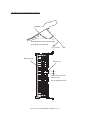
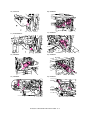
57) INSTALL
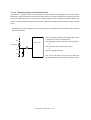
(7) Press the [SET] key. The message display
will return to [100% TEST MODE A].
(8) Key in code “290” and press the START key.
The copier will start operating. The message
display will return to WAIT.
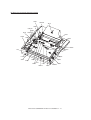
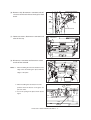
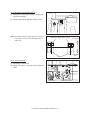
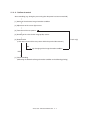
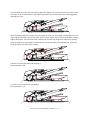
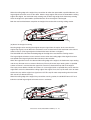
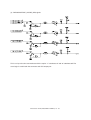
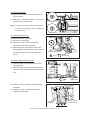
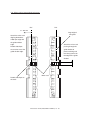
58) ADJUSTMENT
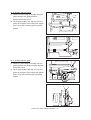
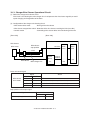
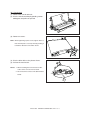
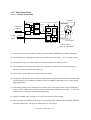
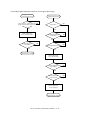
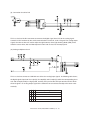
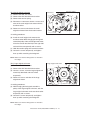
Adjustment of the Auto-Toner Sensor
(1) While pressing keys [0] and [5]
simultaneously, turn on the power switch to
show [100% TEST MODE A] on the
message display.
(2) Key in code “200” and press the START key.
The copier will start operating, and certain
values will appear in Zones “A” and “B”.
(9) About 1 minute later, the copier will stop
operating. The message display will return
to TEST MODE.
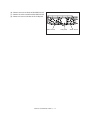
(10) Turn OFF the power switch to finish the
adjustment.
* Do not turn it on again.
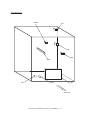
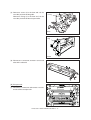
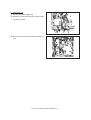
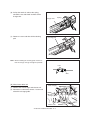
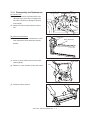
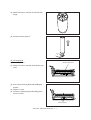
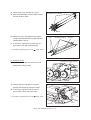
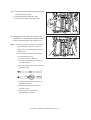
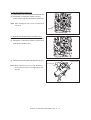
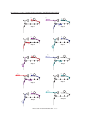
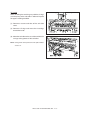
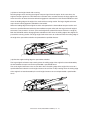
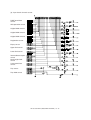
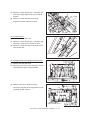
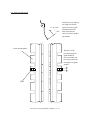
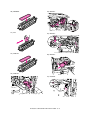
59) SHAKE
60) REMOVE
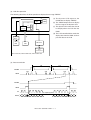
(3) About 2 minutes later, the values in Zone “B”
will start changing.
AR-651/810 UNPACKING AND INSTALLATION 19 - 8














































































































![取扱説明書[NI-FS350]](http://vs1.manualzilla.com/store/data/006555666_3-60968ee3a84023c894538f98d15ad355-150x150.png)