1
41
5
Printing 226-Hz results
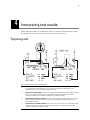
Print memory contents
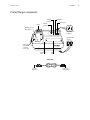
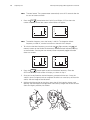
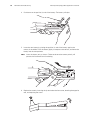
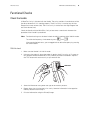
Follow the steps listed below to print tympanometric data stored in the Handle:
1.
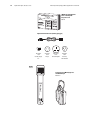
Place the Handle in the well with the Liquid Crystal Display (LCD) and buttons facing
you. When the Handle is properly seated in the well, the green CHARGE indicator
illuminates.
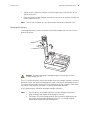
2. Press the PRINT button.
3. To feed extra paper, press the FEED button. Paper continues to feed as long as the
button is depressed.
Tymp
mpan
omet ric
Ins
Micro
Porta
ble Ty
-m
-200
0
PRESSURE
- daPa
1
GR
C
2
GR
A
- cc
ho
m
1.0
0.5
0
-400
+20
0
200
Ve
a
- cc
2
GR
A
Ve
a
1
GR
C
+20
0
-200
0
PRESSURE
- daPa
Ya
Ya
trume
nt
-m
m
ho
3
®
1.0
0.5
0
-400
200
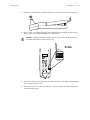
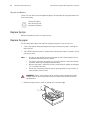
4. To remove the printout, pull the paper forward and to the left or right to tear it along
the cutting edge.
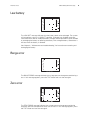
5. To obtain an additional copy of the test results, leave the Handle in the well and press
the PRINT button again. Removing the Handle from the well causes the data to be
removed from the Printer/Charger memory.
Note
•
•
•
•
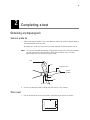
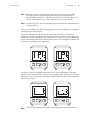
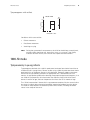
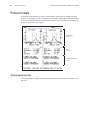
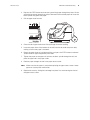
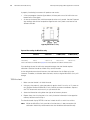
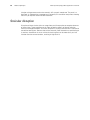
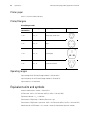
The Printer/Charger has been pre-set at Welch Allyn to print a complete
printout as illustrated below and to print in manual mode. To change formats
or print in automatic mode, follow the instructions on page 45.
If only one ear has been tested, the memory for the other ear should be
erased (see page 20) so as not to confound current data with data from a
previous patient.
If only one memory location has data, only one result is printed.
Do not use transparent adhesive tape on the printed portions of a printout, as
those portions will then fade.