1
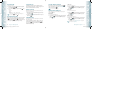
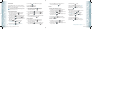
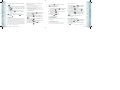
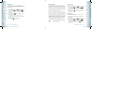
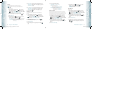
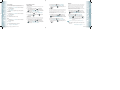
3. Select “Rename”.
4. Enter the new group name, then press the OK Key
[SAVE].
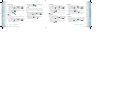
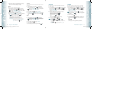
1. From standby mode, press the OK Key [OK] to unlock the keypad,
then press the OK Key [MENU], then slide out the QWERTY
keyboard, and press 3. Groups.
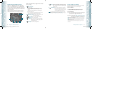
2. Press the Directional Key
up or down to select the existing group
name that you want to erase, and then press the Right Soft Key
[Options].
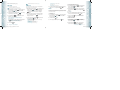
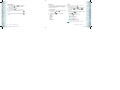
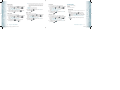
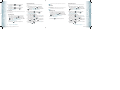
3. Press “1. New TXT Message”.
4. Input your message in the Text Field and then press the Right Soft
Key
[Options] to select “Save As Draft”, “Add”, “Edit Text Format”,
“Priority Level” and “Cancel Message”.
5. To send the TXT message, press the OK Key
SEND Key .
[SEND] or press the
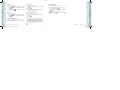
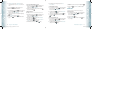
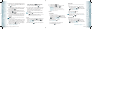
3. Select “Erase”. “ERASE GROUP?” will appear on the screen.
TO SEND A PICTURE MESSAGE TO A GROUP
4. Press the OK Key
appears.
1. From standby mode, press the OK Key [OK] to unlock the keypad,
then press the OK Key [MENU], then slide out the QWERTY
keyboard, and press 3. Groups.
[OK] to select “Yes”. A confirmation message
TO SEND A TXT MESSAGE TO A GROUP
1. From standby mode, press the OK Key [OK] to unlock the keypad,
then press the OK Key [MENU], then slide out the QWERTY
keyboard, and press 3. Groups.
40
Chapter 4 − Menu Function
080625_TXT8010_ELVIS_M_EN_REV00.indd 40-41
2. Press the Directional Key
up or down to select the group you
want to send a message to then press the Right Soft Key
[Options].
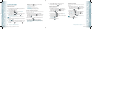
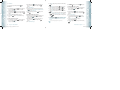
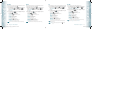
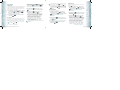
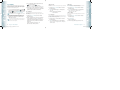
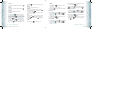
3. Press “2. New Picture Message”.
4. Under “Text”, input your message and then press the Directional Key
down.
10. To send the Picture Message, press the OK Key
the SEND Key .
5. Under “Picture”, press the Left Soft Key
[My Pics] to select the
picture you would like to send then press the OK Key [OK].
TO SEND A VOICE MESSAGE TO A GROUP
6. Under “Sound”, press the Left Soft Key
[Sounds] to select the
sound you would like to send then press the OK Key [OK].
7. Under “Subject”, input a subject and then press the Directional Key
down.
8. Under “Name Card”, you can insert your name card. Press the Left Soft
Key
[Add] select “1. My Name Card” or “2. Contacts” then press
the OK Key [OK]. Select the card you’d like to send then press the
OK Key [OK].
9. Press the Right Soft Key
[Options] to select “Preview”, “Save As
Draft”, “Add Quick Text”, “Add Slide”, “Priority Level”, “Remove Picture”,
“Remove Slide”, “Remove Sound”, “Remove Name Card” or “Cancel
Message”.
These options will vary depending on the message contents chosen.
[SEND] or press
1. From standby mode, press the OK Key [OK] to unlock the keypad,
then press the OK Key [MENU], then slide out the QWERTY
keyboard, and press 3. Groups.
2. Press the Directional Key
up or down to select the group you
want to send a voice message to then press the Right Soft Key
[Options].
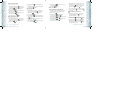
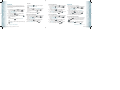
3. Press “3. New Voice Message”.
4. To record a new Voice Memo, press the OK Key [OK] to start
recording, then press the OK Key [STOP] again to save the voice
memo.
5. Under “Voice”, your recorded file name will appear.
Press the Directional Key
down.
Contacts
Contacts
ERASE GROUP
2. Press the Directional Key
up or down to select the group you
want to send a message to then press the Right Soft Key
[Options].
6. Under “Text”, input your message and then press the Directional Key
down.
Menu Function − Chapter 4
41
2008.6.25 9:34:53 PM