1
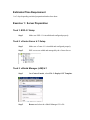
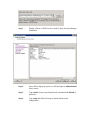
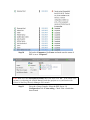
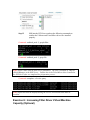
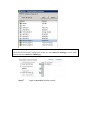
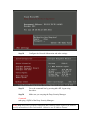
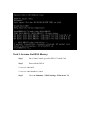
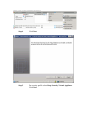
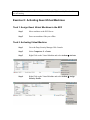
Step 8
In the Address and Port Screen, we recommend using FQDN of the
machine. Click Next.
Note: Make sure DNS is properly configured and is able to resolve FQDN to IP Address
used by all machines in this environment. Otherwise use IP Address instead.
Step 9
On the credentials screen, enter a password for MasterAdmin.
Click Next
Step 10
Keep Automatic Updates box selected. Click Next
Step 11
Confirm Settings. Click Finish
Step 12
Once the installation is done make sure you can login to DSM
using the MasterAdmin account.
Task 2: Deep Security Manager (DSM) 7.5 (Second Node)
Step 1
Install the second DSM 7.5 on the other Virtual Machine.
Step 2
Select Next for the Welcome Screen
Step 3
Accept the License. Click Next
Step 4
Specify the installation path. Click Next
Step 5
Specify the same SQL Server, database name and SQL Account.
Click Next
Step 6
The installer will detect this is the 2nd DSM Node and add itself to
the existing installation.
Step 7
Click Finish and wait for the installation to complete.
Exercise 5: Further Configuration
Note: If the Filter Driver and Virtual Appliance files are in the same folder as the Deep
Security Manager installer. When you install Deep Security Manager from this folder, it
automatically imports the Filter Driver and Virtual Appliance files. If this is the case,
you may skip Task 1 and Task 2.