1
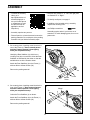
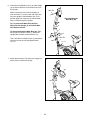
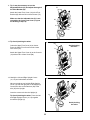
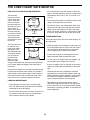
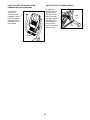
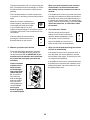
ASSEMBLY • To watch an assembly video, go to http://productvideo.co/ assembly/dsg/epic or use your mobile phone or smartphone to read the QR code with an application such as ShopSavvy. • Left parts are marked “L” or “Left” and right parts are marked “R” or “Right.” • To identify small parts, see page 5. • In addition to the included tool(s), assembly requires the following tools: one Phillips screwdriver Assembly may be easier if you have a set of wrenches. To avoid damaging parts, do not use power tools. • Assembly requires two persons. • Place all parts in a cleared area and remove the packing materials. Do not dispose of the packing materials until you nish all assembly steps. 1. Set a sturdy piece of packing material under the rear of the Frame (1). Have a second person hold the Frame to prevent it from tipping while you complete this step. 1 Identify the Rear Stabilizer (3), which has a Leveling Foot (29) on each end. Orient the Rear Stabilizer as indicated by the sticker so that the welded tubes are in the location shown. Attach the Rear Stabilizer (3) to the Frame (1) with two M10 x 105mm Screws (76). 3 Remove the packing material. 29 1 Welded Tubes 29 2. Set a sturdy piece of packing material under the front of the Frame (1). Have a second person hold the Frame to prevent it from tipping while you complete this step. 2 Wheel 76 2 Orient the Front Stabilizer (2) as shown. Attach the Front Stabilizer (2) to the Frame (1) with two M10 x 105mm Screws (76). Remove the packing material. 1 6 76