1
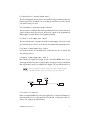
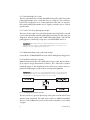
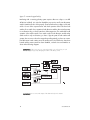
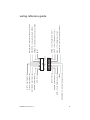
blue and orange wires, zone 3 zone 8
These wires are multiplex inputs. If a (-) input of less than 0.8 seconds is supplied to
either wire, the Warning Zone response will occur. A (-) input of longer than 0.8 seconds to either wire will initiate the triggered sequence and report Zone 3 or Zone 8.
NOTE: For mounting and adjustment of sensors, please refer to the Mux Sensors section of this guide.
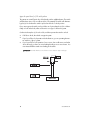
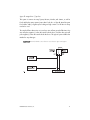
506T AUDIO SENSOR
ORANGE
RED
BLUE
AUDIO
MICROPHONE
504C SHOCK SENSOR
TM
RED
ORANGE
BLUE (ZONE 3)
BLUE (ZONE 8)
BLUE
BLUE
ORANGE
RED
SHOCK SENSOR PORT
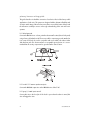
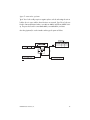
mounting the receiver/antenna
NOTE: Be sure not to bundle excess cable as this will reduce the range.
The receiver/antenna position should be discussed with the vehicle owner prior to
installation since the antenna may be visible to the vehicle’s operator.
The best position to locate the receiver/antenna is centered high on either the front or
rear windshield. For optimal range, the antenna should be mounted vertically. It can
be mounted horizontally in relation to the windshield or under the dashboard away
from metal, but range will be reduced. Metallic window tint can also affect range, so
this should be a consideration when determining the mounting location.
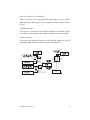
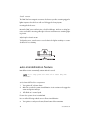
After determining the best mounting location, follow these steps:
1.
Clean the mounting area with a quality glass cleaner or alcohol to remove any
dirt or residue.
2.
Plug the receiver/antenna cable into the receiver/antenna.
3.
Mount the receiver/antenna with double-sided tape.
4.
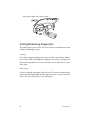
Route the receiver/antenna cable down the window pillar to the control module
© 2004 directed electronics, inc.
19