1
Composer Pro User Guide
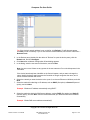
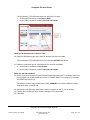
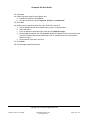
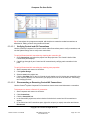
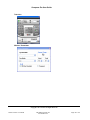
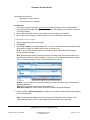
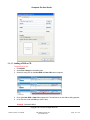
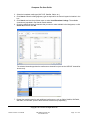
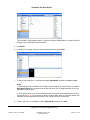
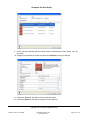
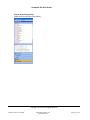
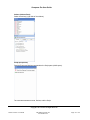
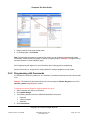
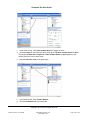
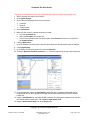
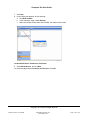
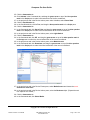
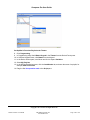
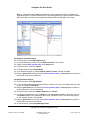
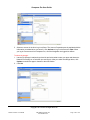
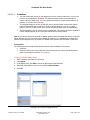
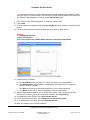
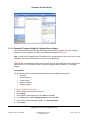
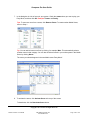
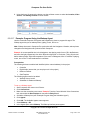
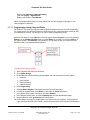
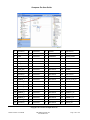
7. The instance of the agent you created appears below the Agents pane. Select the instance you
just created, and click Add/Remove Load to continue.
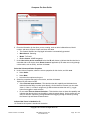
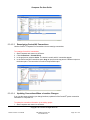
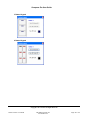
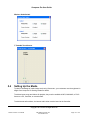
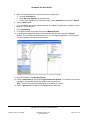
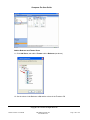
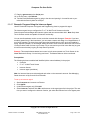
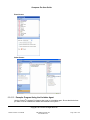
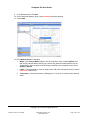
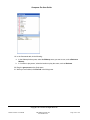
8. Check the lighting loads that you want to add, and then click OK. This can be a single light, a
single room, all lighting loads in an entire house, or any combination of these options.
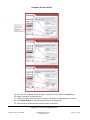
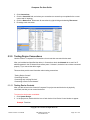
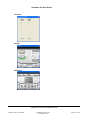
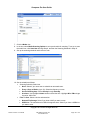
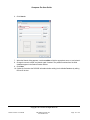
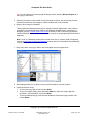
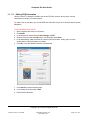
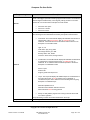
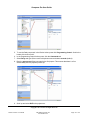
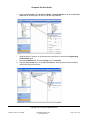
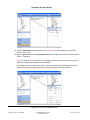
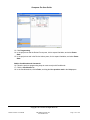
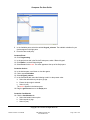
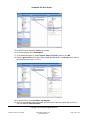
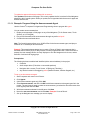
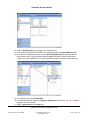
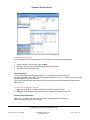
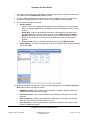
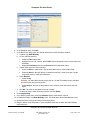
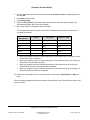
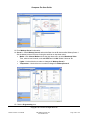
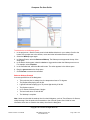
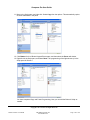
9. Set the specific settings for each load:
• Dimmer Options:
• Level—Lets you set a lighting level as appropriate by using the bar or Level pull-down
menu, for example, 50 percent for the Bedroom Dimmer and 20 percent for the Theater
Dimmer.
• Ramp Rate—Lets you set the Ramp Rate, which is the speed the load ramps to the
specified lighting level. Use the pull-down menu to set the Milliseconds, Seconds, or
Minutes of the ramp rate. Then set the amount of time you want the level to change.
Example: Set the time to 1 second for both the Bedroom Dimmer and the Theater
Dimmer.
• Remove Load—Lets you remove this particular load by clicking Remove Load.
• Switch Options—You can turn the light On or Off for the Theater Switch. Example: Lighting
Scene, select Off.
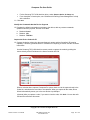
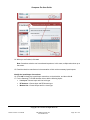
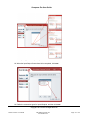
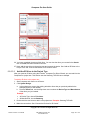
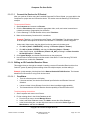
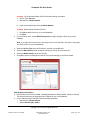
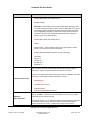
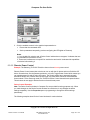
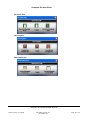
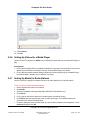
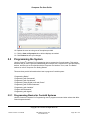
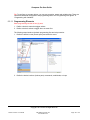
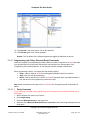
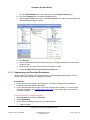
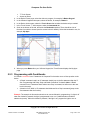
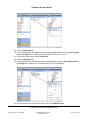
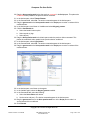
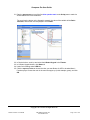
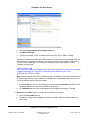
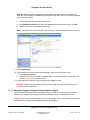
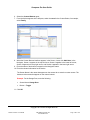
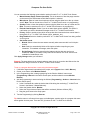
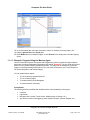
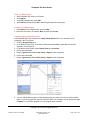
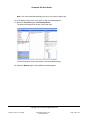
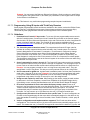
10. When the settings are configured for each load in this Lighting Scene, click Execute On Scene.
Note: Other buttons may apply as needed:
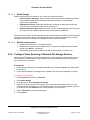
•
•
•
•
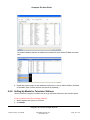
Add/Remove Load—Click to add or remove Dimmers or Switches. Select the Dimmer or
Switch from the project tree and click OK.
Execute On Scene—Click to have all Dimmers and Switches in this scene turn on when
executed.
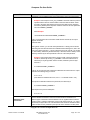
Execute Off Scene—Click to have all Dimmers and Switches in this scene turn off when
executed. Can combine with other scenes to turn off.
Sync This Scene—Click to synchronize the behavior of the devices in this scene. Used
mostly for updates and testing.
Copyright © 2011 Control4. All Rights Reserved.
Saved: 4/14/2011 4:10:00 PM
200-00005 Composer Pro
User Guide Part 2
Page 147 of 179