1
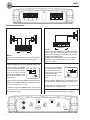
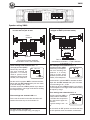
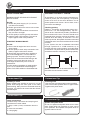
Routing wires
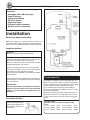
The models include the following
features:
- Analogue class AB technique
- High efficiency
- Low profile design
- RCA line inputs
- High level input
- Powerful cable terminals
- Built-in active crossovers
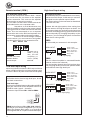
Stereo
head unit
Installation
Before you begin installation
Before you begin you need to read the manual, to
have some tools, cables and other material available.
There is one such list of material on the following page.
Amplifier location
Important
Allow air circulation around the amplifier.
The DLS series of amplifiers have a compact
design that allows great flexibility in mounting. You
can mount it under a seat or in the trunk.
When you select a location, do remember that the
amplifier generates a lot of heat.
Choose a location where air can circulate freely
around the amplifier. Do not cover the amplifier
with carpets or hide behind trim panels.
Do not mount the amplifier in an inverted or upside
down position.
Check all locations and placements carefully before making any cuts, drilling any holes or making
any connections.
IMPORTANT!
Use the metal screws coming with the amplifier
when you do the install. Do not use oversized
screws, you may destroy the plastic ears by
doing so.
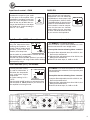
Disconnect Battery
Before starting the installation, always disconnect
the negative terminal of
the battery.
2
Professional Tip:
If amplifier installation kits are available with different size of power cable, chose the most heavy
power cable to improve sound quality and to allow
more amplifiers to be installed now or later.
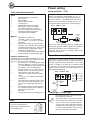
The amplifier power terminals accept AWG 4
cables, so If possible buy AWG 4 = 21 mm2 cable
for best performance.
Both the positive wire and the ground wire must
have the same size. To avoid cable fire, be sure
not to oversize the main fuse value for the power
wires.
THE DC-FEED
Maximum main fuse values for different cable
sizes.
10 mm2 (7AWG) :40 A
6 mm2 (9 AWG) :25 A
16 mm2 (5AWG) :60 A
21 mm2 (4AWG) :100 A
33 mm2 (2AWG) :150 A 42 mm2 (1AWG) :200 A