1
6.4.1.3 1st Stage
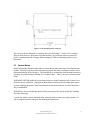
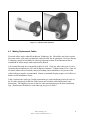
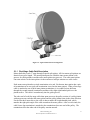
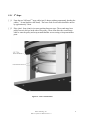
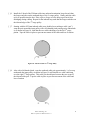
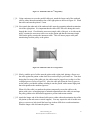
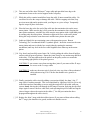
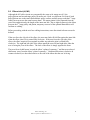
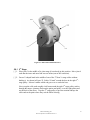
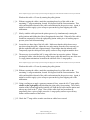
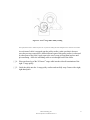
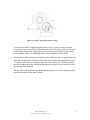
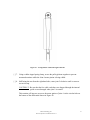
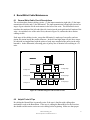
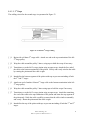
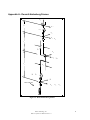
The cabling circuit for the first stage is represented in Figure 34.
Figure 34 - Left Side 1st-Stage Cabling
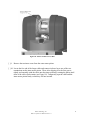
[ ] 1. Remove the tensioner worm from the outer motor pinion on the left side of the wrist.
[ ] 2. Begin with a 965mm 1st-stage cable. Attach one end to the top termination of the left
1st-stage pulley.
[ ] 3. Wrap the cable around the pulley 2 times, using tape to hold the wraps if necessary.
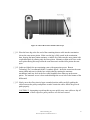
[ ] 4. Transition over to the left 1st-stage pinion (motor pinion) using an open-wrap. Attach
the free end of the cable to the bottom termination of the pinion. Slowly and evenly
wind on the cable by rotating the pinion until the cable is tight.
[ ] 5. Immobilize the bottom (inner) segment of the pinion with tape to prevent unwinding of
all circuit stages.
[ ] 6. Attach one end of another 965mm 1st-stage cable to the bottom termination in the left
1st-stage pulley.
[ ] 7. Wrap the cable around the pulley 8 times using tape to hold the wraps if necessary.
[ ] 8. Transition over to the left 1st-stage pinion using an open-wrap. Attach the remaining
free end of the cable to the top (outer) termination of the pinion (which houses the
tensioner) and rotate the top segment of the pinion only. Maintain a slight axial force on
the outer pinion during this step so that the seam between it and the inner pinion does
not open. Guide the cable carefully to ensure that the cable winds on smoothly and
evenly. Rotate the pinion until the cable is tight.
Barrett Technology, Inc.
BA4-310 System User Manual Version 1.1
63