Transcript
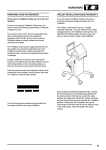
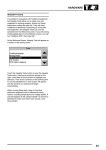
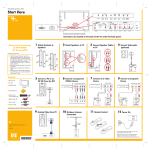
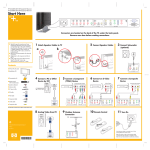
DIAGNOSTICS
HOW TO GET STARTED
Turn on TestBook, and wait for the Welcome screen
to appear after TestBook has automatically run
through a number of set up and self-test screens.
Select Disc for vehicle.
Locate the current compact disc for the vehicle you
are working on and insert into TestBook.
Select "Diagnostic System" from the Welcome
screen.
Select Vehicle and model year and touch
"Continue"
Enter VIN: key in the full Vehicle Identification
Number and touch CONTINUE. Check that all the
information on screen is correct for the vehicle and
touch CONTINUE again.
Select the Diagnostic Required
Touch the icon that relates to the vehicle system that
you wish to investigate.
Connect TestBook to vehicle - TestBook will tell
you on screen which connectors and cables you
need to connect it to the vehicle. For each item, you
will be given both the Hewlett Packard part number
(e.g. 29053-60006) and the LandRover part number
(e.g. DTC0007A). Use whichever of the two
numbers you prefer to locate each item on the cable
illustration poster. This will show you what the item
looks like and will tell you which box of the storage
system (e.g. A1) it is kept in. When you have
gathered all the required connectors and cables,
connect them to the TestBook as instructed, and
plug into the relevant diagnostic connector. (If you
do not know where this is located on the vehicle, use
the ’HELP’ screen facility).
Once all connections have been made correctly, you
can then follow the diagnostic instructions on
screen.
1