1
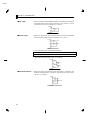
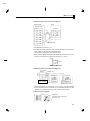
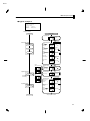
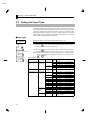
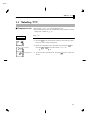
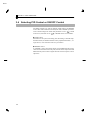
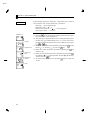
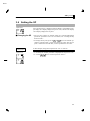
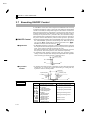
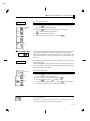
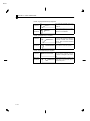
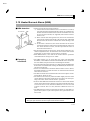
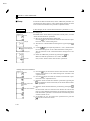
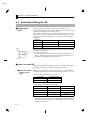
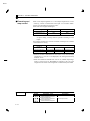
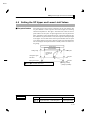
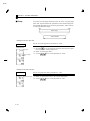
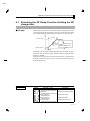
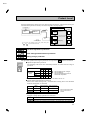
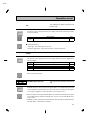
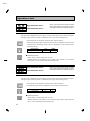
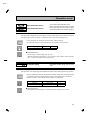
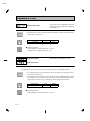
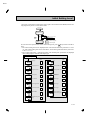
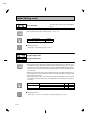
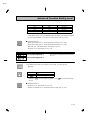
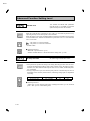
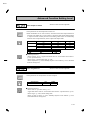
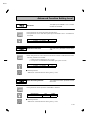
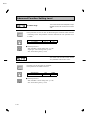
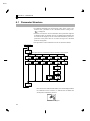
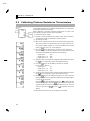
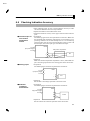
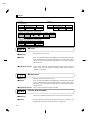
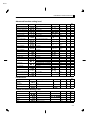
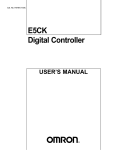
E5AN
CHAPTER 6 CALIBRATION
6.5 Calibrating Platinum Resistance Thermometers
This example describes how to calibrate the E5AN when it is connected to
a platinum resistance thermometer.
When calibrating a platinum resistance thermometer use wires of the
same thickness as those used to connect the E5AN.
Input power
supply
1
E5AN
2
A16
B17
B18
6-dials
(1) Connect the power supply.
(2) Connect a precision resistance box (called 6Ćdial" in this manual) to
the platinum resistance thermometer input terminals.
(3) Turn the power ON.
(4) Move to the calibration level. This starts the 30Ćminute aging timer.
Input type 0
Input types 1, 3
Input types 2, 4
This timer provides an approximate timer for aging. After 30 minĆ
utes, the No.2 display changes to 0". You can advance to the next step
in this procedure even if 0" is not displayed.
(5) Press the
key to display the count value for each input type.
The No.2 display at this time displays the currently entered count
value entered in Hexadecimal. Set the 6Ćdial as follows:
Ăă• Input type 0:
390 Ω
Ăă• Input type 1 or 3:
Ăă• Input type 2 or 4:
280 Ω
140 Ω
(6) Allow the count value on the No.2 display to fully stabilize, then press
the
Input type 0
Input types 1, 3
key to temporarily register the calibration setup.
(7) Press the
key to set the E5AN to the state on the left.
Set the 6Ćdial as follows:
Ăă• Input type 0:
10 Ω
Ăă• Input type 1 or 3:
Ăă• Input type 2 or 4:
10 Ω
100 Ω
(8) Allow the count value on the No.2 display to fully stabilize, then press
the
Input types 2, 4
key to temporarily register the calibration setup.
(9) Press the
key. The No.2 display changes to the state on the left.
Note that the data to be temporarily registered is not displayed when
it is not entirely prepared.
Press the
key. The No.2 display changes to
". Release the key
key. This stores the temporarily
and wait two seconds or press the
registered calibration data to EEPROM. Data will not be stored to
memory if you press the
key with
" displayed on the No.2
display.
(10) The calibration mode is quit by turning the power OFF.
6–8