1
D122_NTSC_E.book Page 87 Thursday, July 19, 2007 6:43 PM
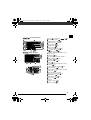
Connecting to a Computer
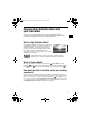
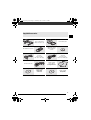
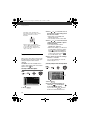
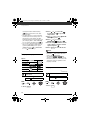
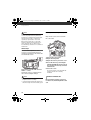
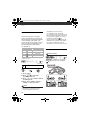
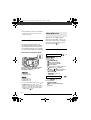
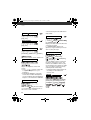
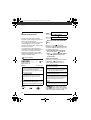
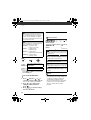
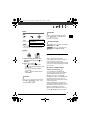
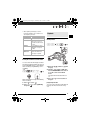
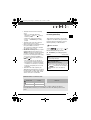
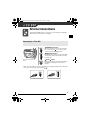
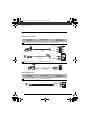
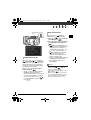
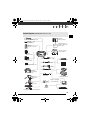
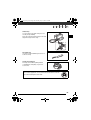
PC Connection Diagram
USB Terminal
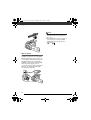
Open the LCD panel to access.
Terminal on the
Camcorder
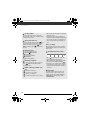
1 Output connection (signal flow
Connecting Cable
Terminal on the
Connected Device
) to a computer or PictBridge-compatible printer with an USB port.
USB Cable
(supplied)
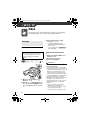
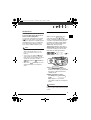
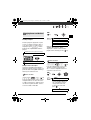
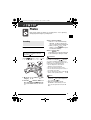
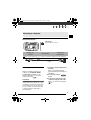
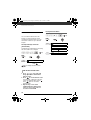
Transferring Photos - Direct Transfer
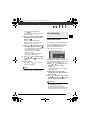
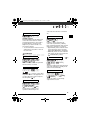
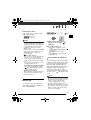
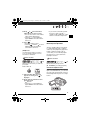
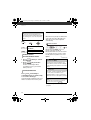
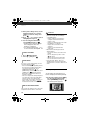
1 Install the supplied Digital Video
With the supplied USB cable and
software (on the DIGITAL VIDEO
Solution Disk CD-ROM) you can
transfer still images to a computer
simply by pressing
.
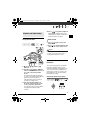
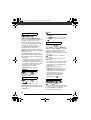
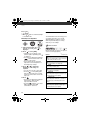
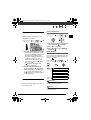
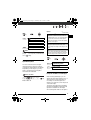
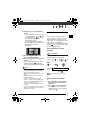
2 Set the camcorder to
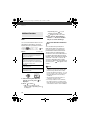
Preparations
The first time you connect the
camcorder to the computer, you need
to install the software and set the autolaunch setting. From the second time
on, just connect the camcorder to the
computer using the USB cable to
transfer images.
Software.
Refer to the installation guide
(separate leaflet included with the
CD-ROM).
mode.
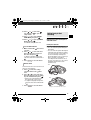
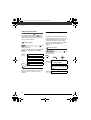
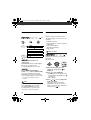
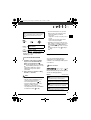
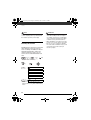
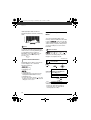
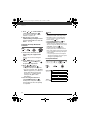
3 Connect the camcorder to the
computer using the USB cable.
Refer to PC Connection Diagram
(
87).
87