1
SYSTEM UTILITIES
108
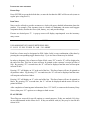
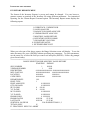
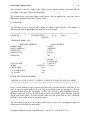
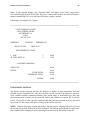
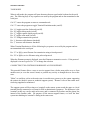
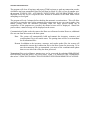
Note: To avoid problems, backup all data files daily onto separate diskettes or a separate fixed
disk. The backup created will automatically be assigned a file extension (BAK1 - BAK7)
depending on the day of the week the backup is performed. Thus seven (7) days of file backups
may be created before the sequence is repeated. This file backup procedure provides a greater
safety margin in the event a file reconstruction (restore) is required.
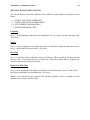
Back Up a File
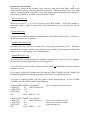
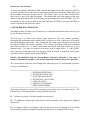
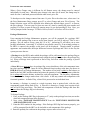
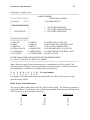
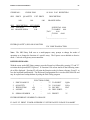
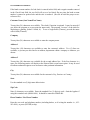
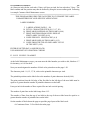
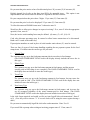
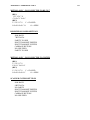
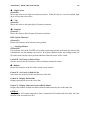
To backup a file, you must first use the Arrow key to select the file you wish to backup. Press F2
to mark it with an asterisk, pressing F2 again will remove the mark. If all files are to be backed
up, press F3 Mark All. Pressing F4 will reset all marks. After marking the desired files, press F1
to begin the backup process. You will be prompted to load the correct backup diskettes or you
may change the backup drive by pressing F2 to toggle to the next available backup system drive.
Press F1 to continue the backup process.
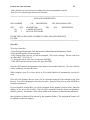
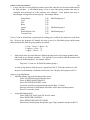
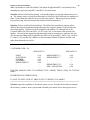
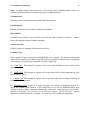
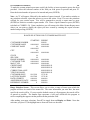
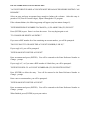
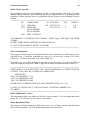
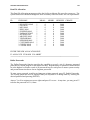
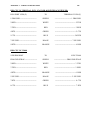
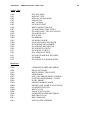
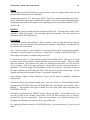
When backing up files, it is important to note that certain files are "chained" together. Changes in
one file will affect changes in another. In the list below, if any changes are made to the file listed
to the left of the plus (+) sign, then all the files in that chain should be backed up. The chained
files are:
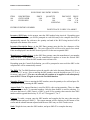
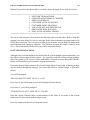
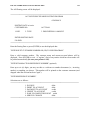
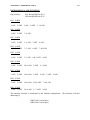
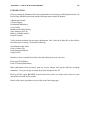
(For location 1 of Multi-Store)
INVENTRY.MAS + STORES.DAT
(For Accounts Payable)
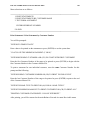
APSPAY.DAT + APSGLR.DAT, APSCHK.DAT and VENDOR.MAS
(For Balance Forward A/R)
BFADET.DAT + BFAGLR.DAT, and CUSTOMER.MAS
(For General Ledger)
GENDET.DAT + GENLEG.MAS
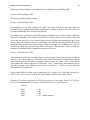
When the backup is complete, the screen will return to the Utilities menu.
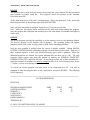
Restore a File
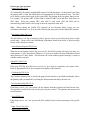
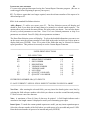
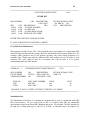
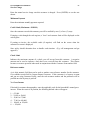
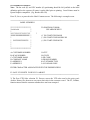
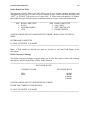
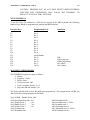
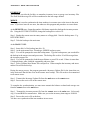
To restore a file, you must first use the Arrow key to select the file you wish to restore. Press F2
to mark the file with an asterisk. Pressing F2 again will remove the mark if an erroneous
selection was made. Press F6 Restore. A "Warning" prompt will appear (restoring files from
backup will replace current data). Press F1 to continue. A directory of backup by date created
will be displayed, select the file reference number or use the default selection and press F1 to
continue. When the selected file is restored, you will return to the Utilities menu.
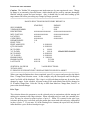
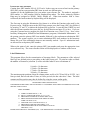
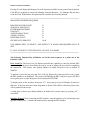
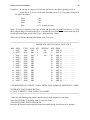
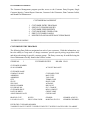
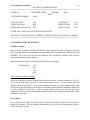
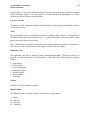
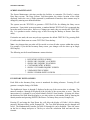
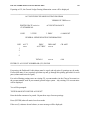
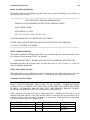
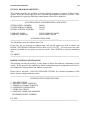
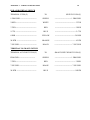
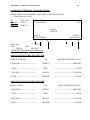
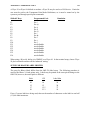
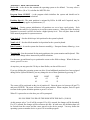
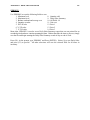
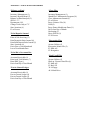
When restoring files, it is important to note that certain files are "chained" together. If restoring
any of the files listed below, restore all the files in that chain. The chained files are: