1
© 2009 NURVE NETWORKS LLC “Exploring the Chameleon AVR 8-Bit”
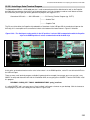
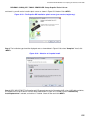
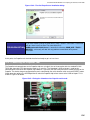
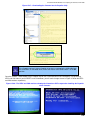
have the serial select switch on the Chameleon in the down position, so the PC can get to the serial port of the AVR since
this is how the bootloader works via serial.
28.1 Graphics Demos
The following graphics demos illustrate examples in both NTSC and VGA modes as well as use of the advanced tile
modes of the NTSC driver.
Each example will typically consist of the primary source file for the demo as well as:
The System API library module CHAM_AVR_SYSTEM_V010.c|h.
The main SPI API library module CHAM_AVR_TWI_SPI_DRV_V010.c|h.
The NTSC, VGA, GFX driver or all of them.
And any other ancillary drivers for sound, keyboard, etc.
All the required files can of course be found in the \Source directory on the DVD (which you should have already copied
onto your hard drive) located here:
DVD-ROM:\ CHAM_AVR \ SOURCE \
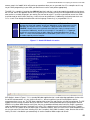
AVRStudio
TIP
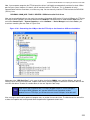
In general, you will include all the sources in your project (.C files) and make sure all the
.H header files are in the same working directory, so the compiler can find them. You do
NOT include the .H header files in the compilation list of source files, the compiler will do
this for you. Only include .C and .S files in your source file link list in your project file list
to the left of the tool.
The Arduino version will be in “Sketch” form already, so all you need to do is load the Sketch in and upload and you’re in
business!
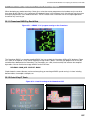
28.1.1 NTSC Printing Demo
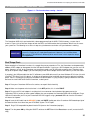
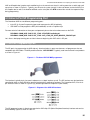
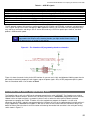
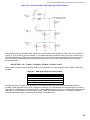
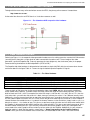
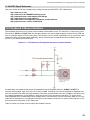
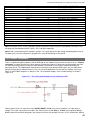
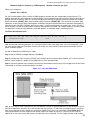
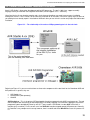
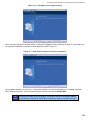
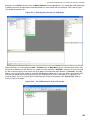
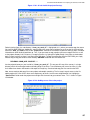
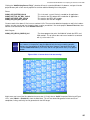
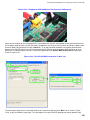
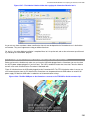
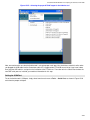
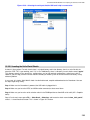
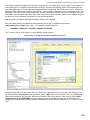
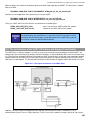
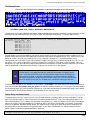
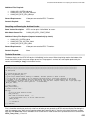
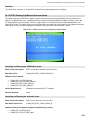
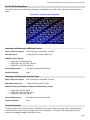
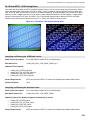
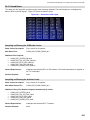
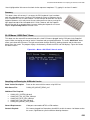
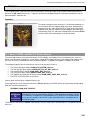
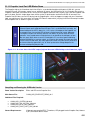
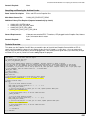
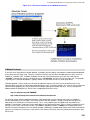
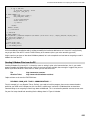
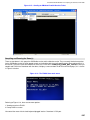
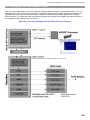
This demo simply uses the NTSC terminal API to print “Hello World” to the NTSC screen. Figure 28.1 shows the demo in
action.
Figure 28.1 – NTSC terminal printing demo.
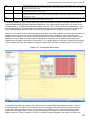
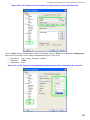
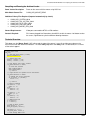
Compiling and Running the AVRStudio Version
Demo Version Description:
NTSC version prints “Hello World” to screen.
Main Source File:
CHAM_AVR_NTSC_PRINT_DEMO_01.C
211