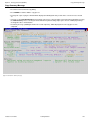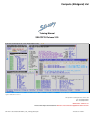
1
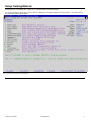
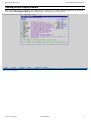
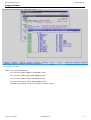
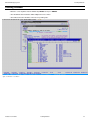
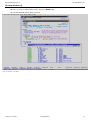
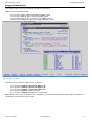
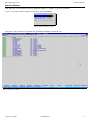
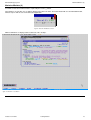
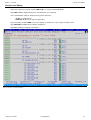
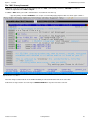
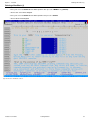
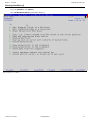
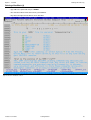
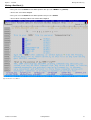
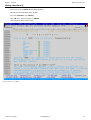
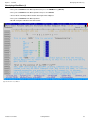
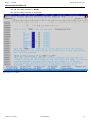
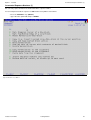
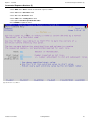
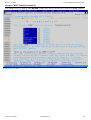
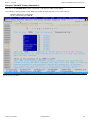
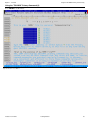
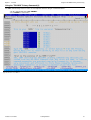
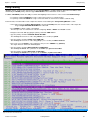
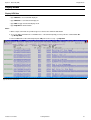
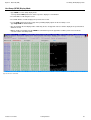
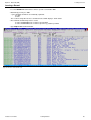
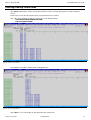
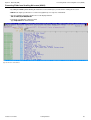
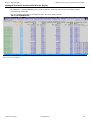
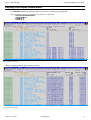
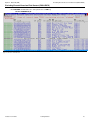
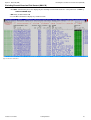
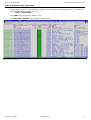
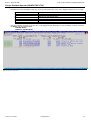
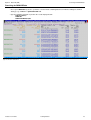
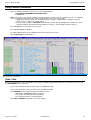
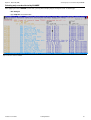
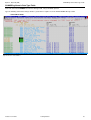
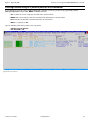
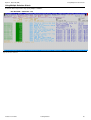
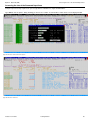
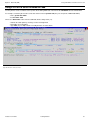
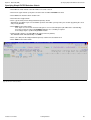
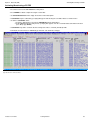
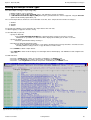
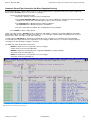
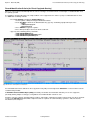
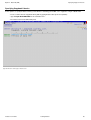
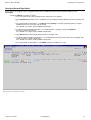
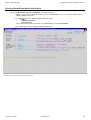
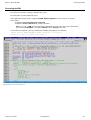
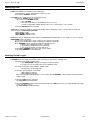
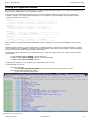
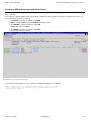
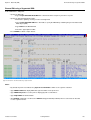
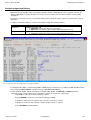
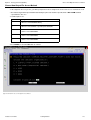
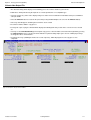
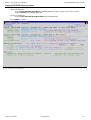
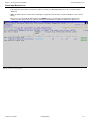
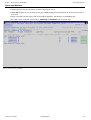
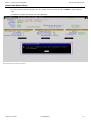
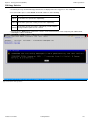
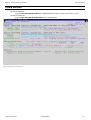
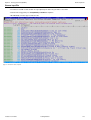
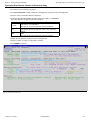
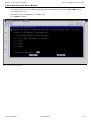
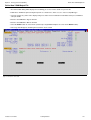
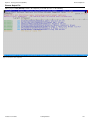
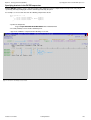
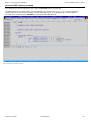
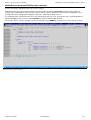
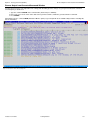
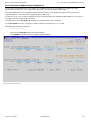
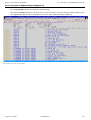
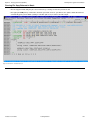
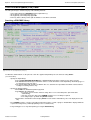
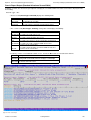
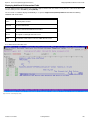
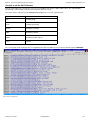
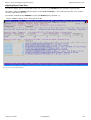
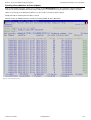
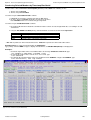
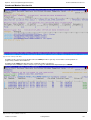
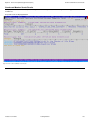
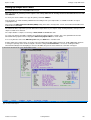
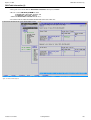
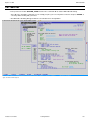
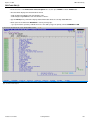
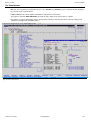
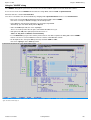
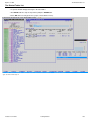
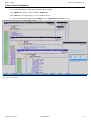
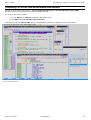
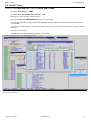
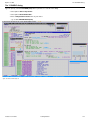
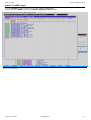
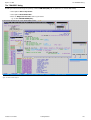
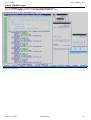
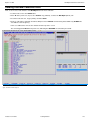
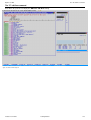
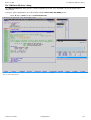
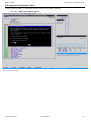
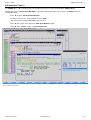
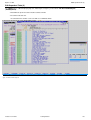
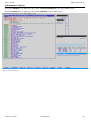
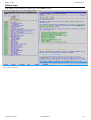
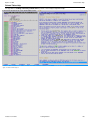
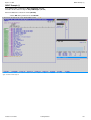
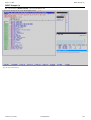
Option 5 - File Copy/Reformat (FCOPY)
Copying PDS/PDSE Library members
Copying PDS/PDSE Library members
• Specify the Input File:
♦ Type userpfx.SELCTRN.ZZST5DAT in the DSN/Path Mask field, where userpfx is your own user prefix.
♦ Type TRACK02* in the Member Mask field.
• Specify the Output File:
♦ Type userpfx.SELCTRN.ZZST5DAT.FCOPY1 in the DSN/Path field.
• Press ENTER to continue.
Figure 105. SELCOPYi - COPY Library Members.
2015/01/19 11:28:28
Training Manual
112