1
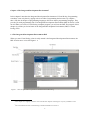
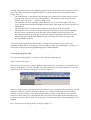
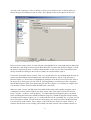
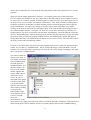
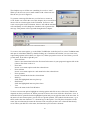
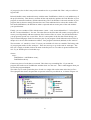
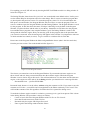
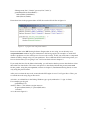
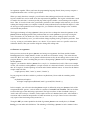
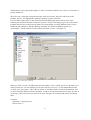
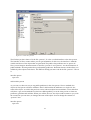
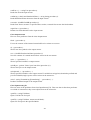
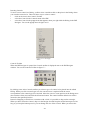
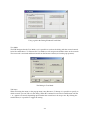
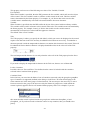
“Text”. Go to the Dialog and click the place where you want to drop the text field. The text field gets
the focus (if not, click once on the text field) and in the properties list the properties of the text field
are shown. In the left column on the third line you will find the word “Text” and in the right column
“StaticText”. Change “Static Text” into “Name” and when you hit <Enter> you will see that the label
of the text field will have changed. Now enter the other three text fields.
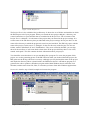
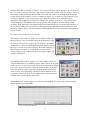
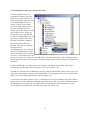
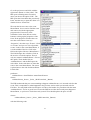
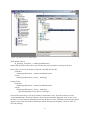
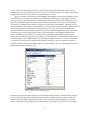
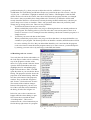
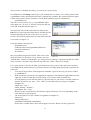
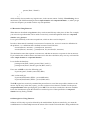
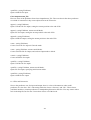
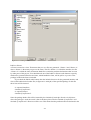
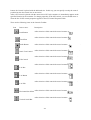
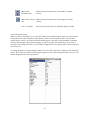
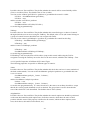
To enter Edit Fields is a little bit more work. To place an Edit Field, go to the Controls Toolbar
and select the box with the word “Edit” (top row, most right symbol). The cursor changes in a plus
sign and the word “Edit”. Go to the Dialog, place the cursor where you want the Edit Field and click
once. The Control gets focus (if not select it) and in the properties list you see the properties of the
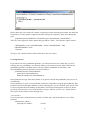
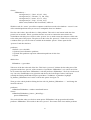
control. Two properties are important: the Name of the control and the Text. You find the Name on
the first row in the properties list. There it says something like:
Name
edit_ctl
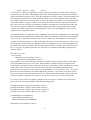
Now change the Name of this (edit)control into:
Name
name_ctl
This edit field is going to contain the name of the person in the new record. Take care that the name
of the control “name_ctl” begins with a lower case letter and keep in the end of the name the “_ctl”. It
is good practice to change the names of controls into something that has meaning for human beings.
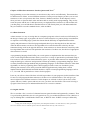
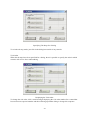
Now add the other three controls and give them the names weight_ctl, length_ctl and iq_ctl. You can
also change the standard Text “Edit” of the Edit fields, I chose “Type a name” for the Name Edit
Field and for the other ones I chose average values. You enter the new text in the Text field in the
properties list.
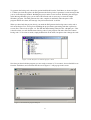
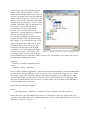
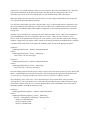
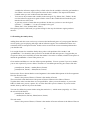
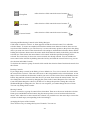
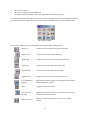
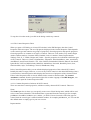
When you insert the controls, you will find out that it is not easy to get them aligned. I think this is the
moment to play a little with the Layout Tools in the Layout toolbar. Select a group of controls and
align them.
Maybe you wonder why there is no field for the ID in the Dialog. The reason is that the ID should be
a unique code. When you enter an ID yourself, you may make a mistake and give the same ID to two
different persons. To avoid that, I shall make the program “compute” a unique ID.
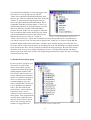
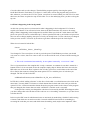
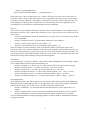
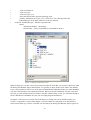
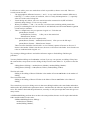
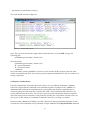
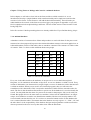
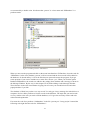
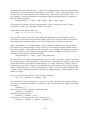
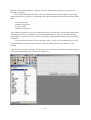
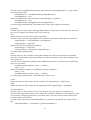
Back to the Dialog. When everything is like in figure 7.5 you save and close the dialog editor. Build
the project (yes again ...) And when the IDE asks you if you want to include something, say “yes”.
Now you have a form but two things are lacking. First we need a menu-item to open the form and then
we need code so that when you click <OK> on the form, a new record is added.
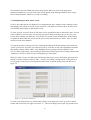
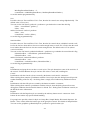
First the menu-item, that is rather simple and should be familiar to you. In TaskMenu.mnu enter a new
sub-option under the option Database. I called this option “Add Person”. It is not too critical what you
enter here, but take care. The text of this option is used to generate code, so when you enter another
text here, your code will deviate slightly from mine. When the TaskMenu is changed, go to
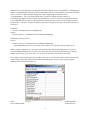
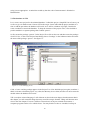
TaskWindow.win and open the Code Expert. Now choose Menu, choose TaskMenu, choose
id_database, and enter the standard code for id_Database_Add_Person. Then go to the code and
change it into:
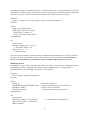
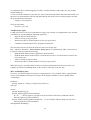
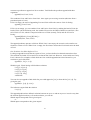
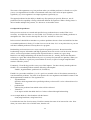
predicates
onDatabaseAddPerson : window::menuItemListener.
clauses
onDatabaseAddPerson(Source, _MenuTag) :97