1
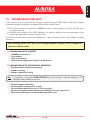
9.2. Use of the display
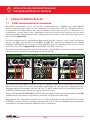
The display allows to set the initial system configuration (Selection of grid standard, date/time, language,
RS485 address, activation voltage, MPPT scanning, etc.), the advanced configurations of the grid parameters
and of the interface protections and to view real-time or historical energy production data.
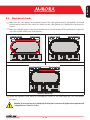
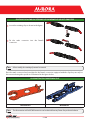
It is possible to access such features by using the four buttons on the front of the inverter.
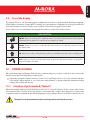
USING THE BUTTONS
“ENTER” button. It can be used to confirm an action, to access the submenu for the selected option
(indicated by the > symbol) or to switch to the next digit to be edited.
“DOWN” button. It is used to scroll down the menu options or to shift the numerical scale in
descending order.
“UP” button. It is used to scroll up the menu options or to shift the numerical scale in ascending order.
“ESC” button. It is used to access the main menu, to go back to the previous menu or to go back to
the previous digit to be edited.
10. COMMISSIONING
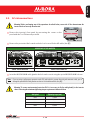
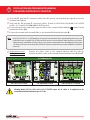
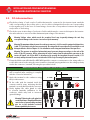
After performing the preliminary checks for the commissioning it is possible to switch on and connect the
inverter to the grid, following the procedure below.
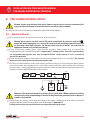
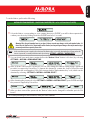
the integrated switch (versions –S and –FS) to the ON position or close the external switches:
• Switch
If the input voltage applied to one of the two input channels is greater than the minimum starting
voltage, the inverter will start up.
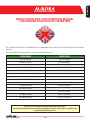
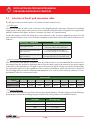
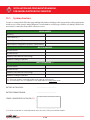
10.1. Selection of grid standard (“Nation”)
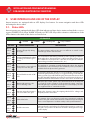
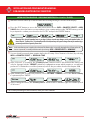
When the inverter starts up for the first time it asks you to select the “Nation” of the country where it has
been installed. This selection allows the inverter to automatically configure its parameters to ensure that
compliance with local standards; the default language corresponding to the selected “Nation” will also be set.
Warning! Select the grid standard carefully to avoid any problems with the grid connection.
23 - EN
EN - ENGLISH
Photovoltaic Inverters