1
CREATING A MAIL MERGE DOCUMENT
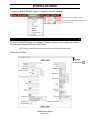
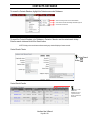
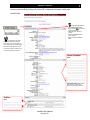
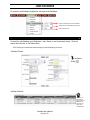
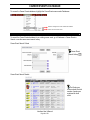
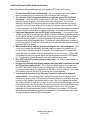
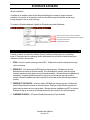
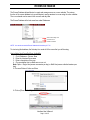
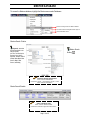
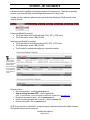
A Mail Merge template is a document that an admin can use over and over again. An admin can create a
template for flyers, mailing labels, letters, and job bulletin announcements. The template can then be
uploaded into Interfase and linked to an existing report. The report can then be generated in Word using
the template.
EXAMPLE: I would like to create a mail merge template for our recruiting invitation letter that we send out
to employers every semester. In Interfase, I created and saved the report of the employer contacts that
should receive this letter. I have saved the .csv report to my computer.
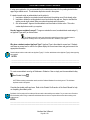
Before beginning the following steps, create the letter that will be used and leave the area for the Mail
Merge data (name, address, etc.) blank. Once the letter has been created, complete the following steps:
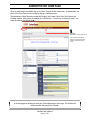
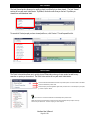
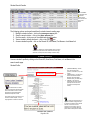
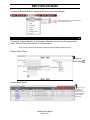
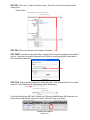
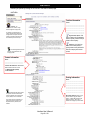
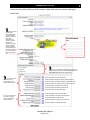
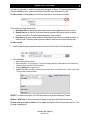
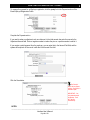
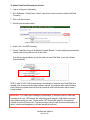
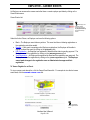
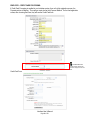
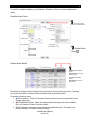
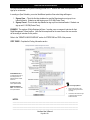
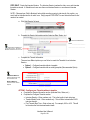
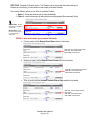
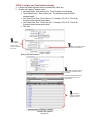
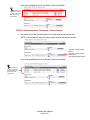
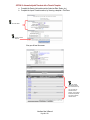
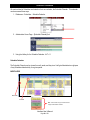
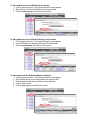
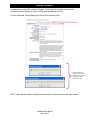
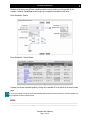
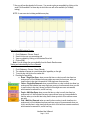
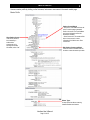
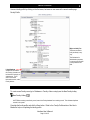
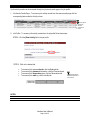
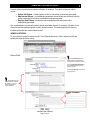
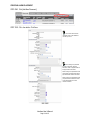
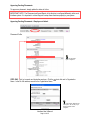
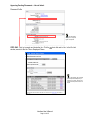
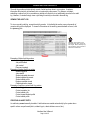
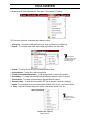
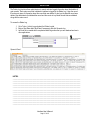
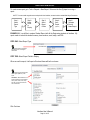
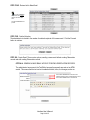
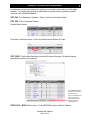
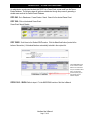
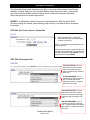
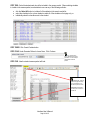
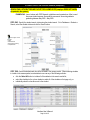
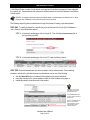
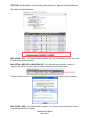
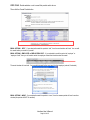
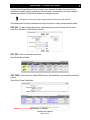
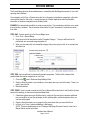
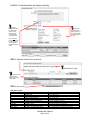
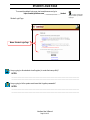
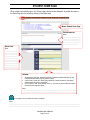
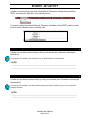
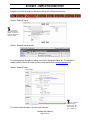
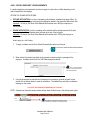
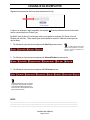
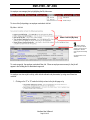
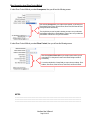
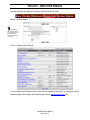
STEP ONE: Start up Mail Merge Wizard and Select Document type (Labels, Letters, etc.)
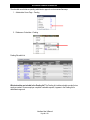
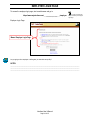
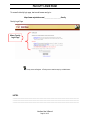
1. Click Tools menu
2. Go to Letters and Mailings, click Mail Merge Wizard (The Mail Merge Wizard window will open on the
right side of your screen)
3. Select “Letters” for document type
4. Click the “Next: Starting Document” link at the bottom of the Mail Merge Wizard pane
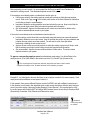
NOTE: In #3 above, you could select Email as the document type to send out a mail merge email instead. You could also select
Directory (or Catalog in older versions of MS Word) to generate a directory (i.e. Job Bulletin or Student list/roster).
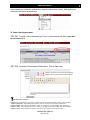
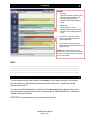
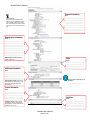
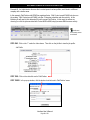
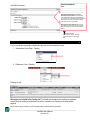
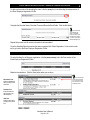
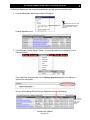
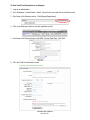
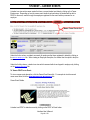
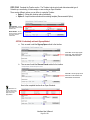
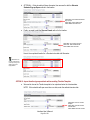
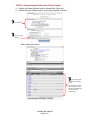
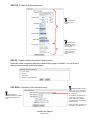
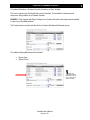
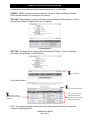
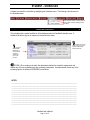
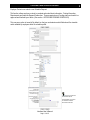
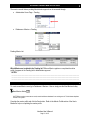
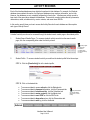
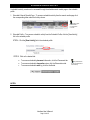
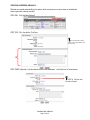
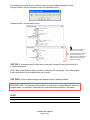
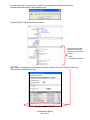
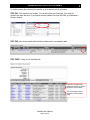
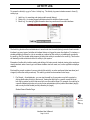
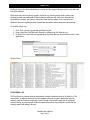
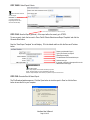
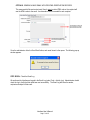
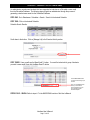
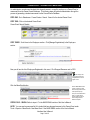
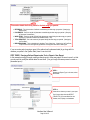
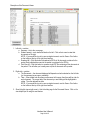
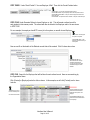
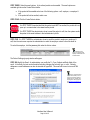
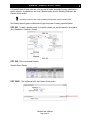
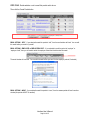
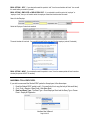
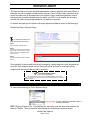
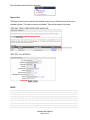
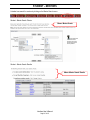
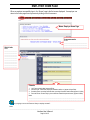
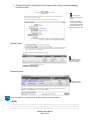
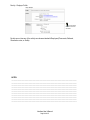
STEP TWO: Select Starting Document
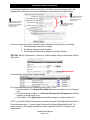
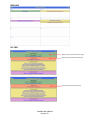
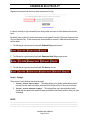
1. Select “Use the current document” to use the letter that was created as the
starting document.
2. Click the “Next: Select Recipients” link at the bottom of the Mail Merge Wizard
pane
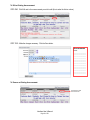
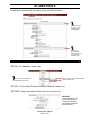
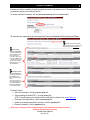
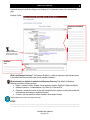
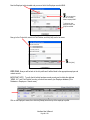
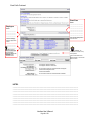
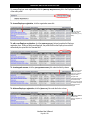
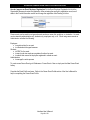
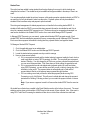
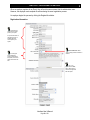
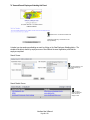
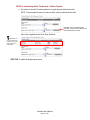
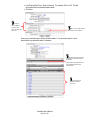
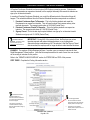
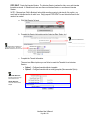
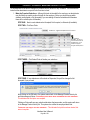
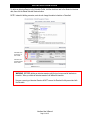
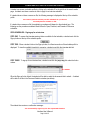
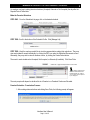
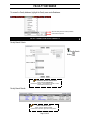
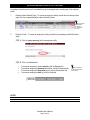
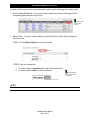
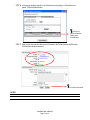
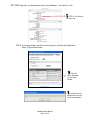
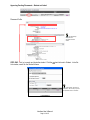
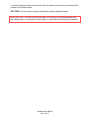
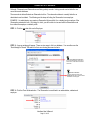
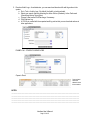
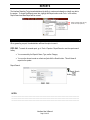
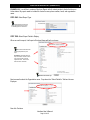
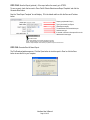
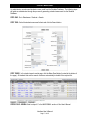
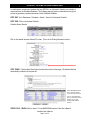
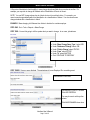
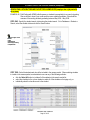
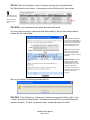
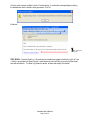
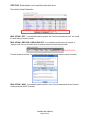
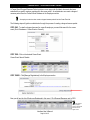
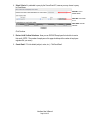
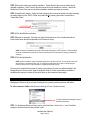
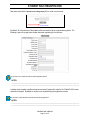
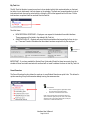
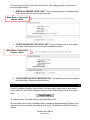
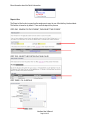
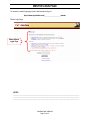
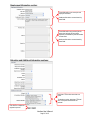
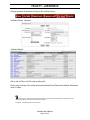
STEP THREE: Select Recipients
This is the data source to be used in the Mail Merge.
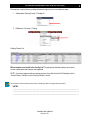
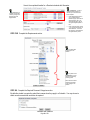
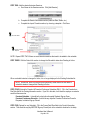
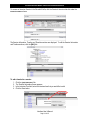
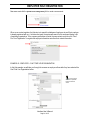
1. Click Browse and find the .csv file that was saved to your computer.
2. Click OK on the “Mail Merge Recipients” dialog box if a letter should be created
for all contacts in the file. To exclude a contact, de-select the rows (recipients) in
the list and click OK.
3. Click the “Next: Write Your Letter” link at the bottom of the Mail Merge Wizard
pane
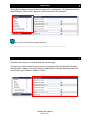
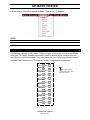
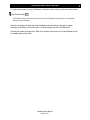
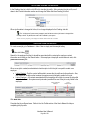
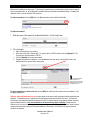
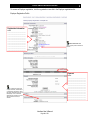
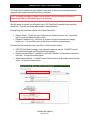
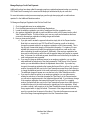
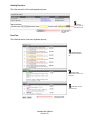
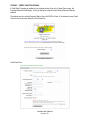
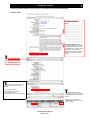
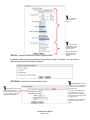
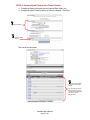
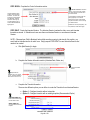
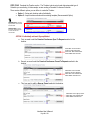
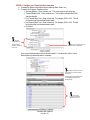
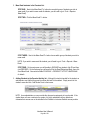
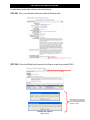
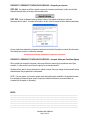
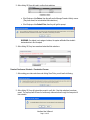
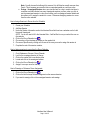
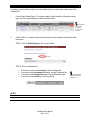
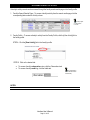
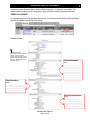
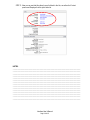
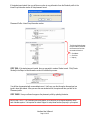
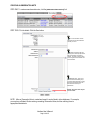
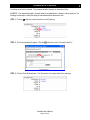
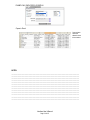
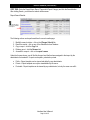
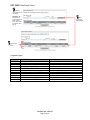
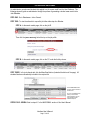
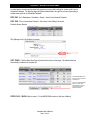
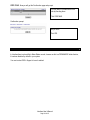
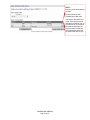
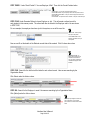
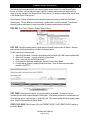
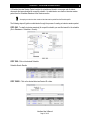
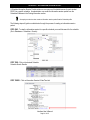
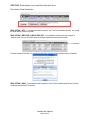
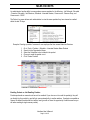
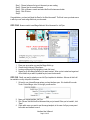
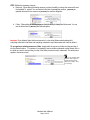
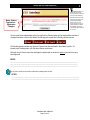
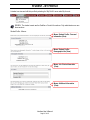
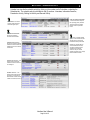
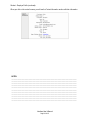
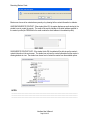
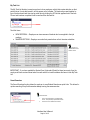
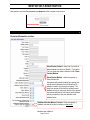
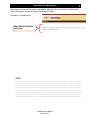
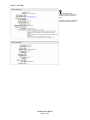
STEP FOUR: Adding the Mail Merge fields to the Letter
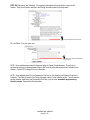
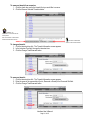
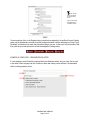
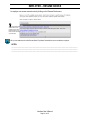
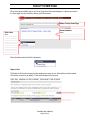
1. Click the location on the letter where the data of the mail merge fields should be
inserted
2. Click “More items”
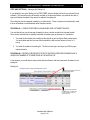
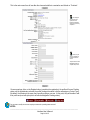
3. Double click on desired items to be inserted (formatting will occur later)
4. The merge code will appear in your document
5. Click Close at the bottom right hand corner of the Insert Merge Field window to go
back to working on the document
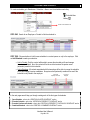
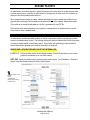
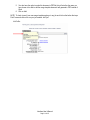
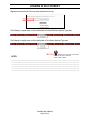
6. Place required formatting between merge codes if necessary (ex. Commas or
spaces)
7. Click the “Next: Preview your letters” link at the bottom of the Mail Merge Wizard
pane
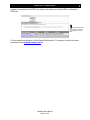
8. Save this template to your computer as Word document
Interfase User’s Manual
Page 166 of 271