1
Chapter 2: Installation of Dr.Web Enterprise Security Suite Components
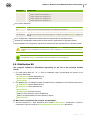
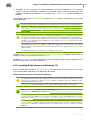
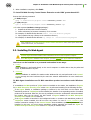
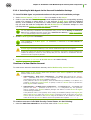
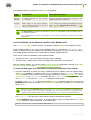
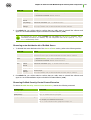
2. A window with the text of the license agreement will be opened. You should read and accept the
agreement. To continue the installation, in the bottom part of the window select I accept the
terms of the license agreement and click Next.
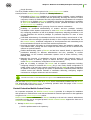
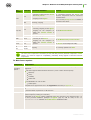
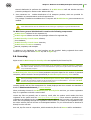
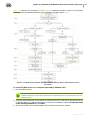
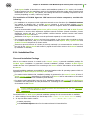
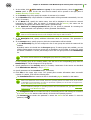
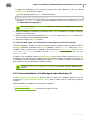
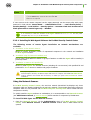
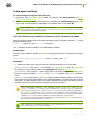
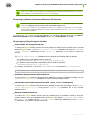
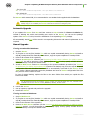
3. A window for setting general Proxy server parameters will be opened:
In the Listen to field, specify the IP address, which will be "listened" by the Proxy server. By
default, it is any (0.0.0.0) value, which means "listen" for all interfaces.
Addresses should be specified in the network addresses format described in the Appendices
document, p. Appendix E. The Specification of Network Addresses.
In the Port field, specify a port, which will be listened by the Proxy server. By default, it is the
2193 port.
In the Protocol drop-down list, select a type of the protocol for accepting incoming connections
by the Proxy server.
Set the Enable discovery flag to enable the Server imitation mode. This mode allows Network
scanner to detect the Proxy server as Dr.Web Server. For the the Server imitation mode, the
following settings are available:
Set the Enable multicasting flag so the Proxy server will reply to a multicast requests
addressed to the Server.
In the Multicast group, specify an IP address of a multicast group, in which the Proxy
server is included. Specified interface will be listened by the Proxy server for interaction
with Network installers during active Dr.Web Servers searching. If you leave this field
blank, Proxy server will not be included in any of multicast groups. Default multicast group
to which the Server is included is 231.0.0.1.
In the Compression mode drop-down list, select the compression mode of traffic for channels
between Proxy server and served clients: Agents and Agent installers. In the Level field,
specify the compression level. Integers from 1 to 8 are allowed.
After you specified general settings, click Next.
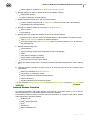
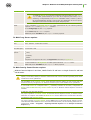
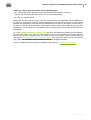
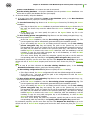
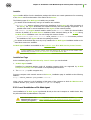
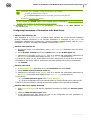
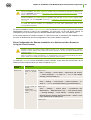
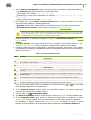
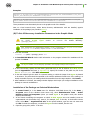
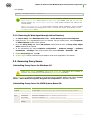
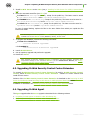
4. A window for setting cache parameters of the Proxy server will be opened:
Set the Enable caching flag to cache the data transferred by the Proxy server and specify the
following parameters:
To change the default folder for storing cached data, click Browse and specify a new folder in the
file system browser.
In the Maximum revisions number field, specify the maximal number of stored revisions. By
default, 3 last revisions are stored, the older revisions are deleted.
In the Cleanup interval field, specify the time interval in minutes between deletions of old
revisions. Default is 60 minutes.
In the Unload interval field, specify the time interval in minutes between unloads of unused files
from the memory. Default is 10 minutes.
In the Integrity check mode drop-down list, select the check mode of cache integrity:
At startup - at a startup of the Proxy server (may take a long time).
Idle - in the background of the Proxy server operating.
After you specified cache settings, click Next.
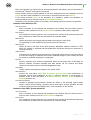
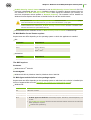
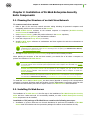
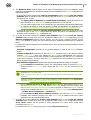
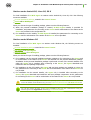
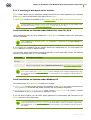
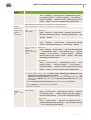
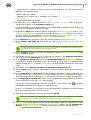
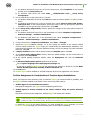
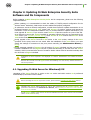
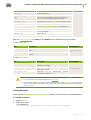
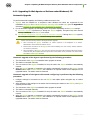
5. A window for configuring connections redirection will be opened:
In the Redirection settings section, specify an address or the list of addresses of Dr.Web
Servers, to which the connections established by the Proxy server will be redirected.
Addresses should be specified in the network addresses format described in the Appendices
document, p. Appendix E. The Specification of Network Addresses.
Installation Manual
51