1
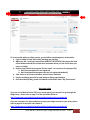
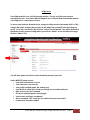
1. First, export your contacts into a *.csv file. This process varies by system so consult
the user manual for your current Contact Management system or contact that support
team for help.
2. Open your *.csv file using Excel and make sure the contact information is in separate
columns in the following format and order (from left to right):
a. First Name
b. Last Name
c. Home Phone
d. Work Phone
e. Cell Phone
f. Address 1
g. City 1
h. State 1
i. Zip 1
j. Address 2
k. City 2
l. State 2
m. Zip 2
n. Address 3
o. City 3
p. State 3
q. Zip 3
r. Email address 1
s. Email address 2
t. Email address 3
u. Password
Note: Be sure all contacts have all of these columns in your spreadsheet even if
they do not have data in them. Contacts MUST have a First Name, Last Name and
email address in order to be imported as a contact.
3. Be sure to delete the row with the header names (only import the actual contact
information)
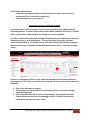
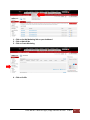
4. Click on Import/Export on the upper right side of your “My Contacts” dashboard
5. When possible, assign a “group” to the contacts (this is why we recommend that you
import by group)
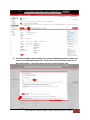
6. Change the status from “Lead” to “Inactive” – so that all of the imports do NOT end up
on your dashboard (and the system dashboard)
7. If you would like to send a “Welcome” message, check the box. DO NOT CHECK THE
BOX IF YOU ARE UPLOADING MORE THAN 100 LEADS. Your email address will be
flagged as a spam provider! You can send individual welcome emails at a later time.
8. Choose your *.cvs file and click “Import”
Keller Williams – Maureen Legac | eEdge: What do I do now? 2-28-11
7