1
Platen
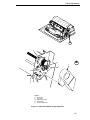
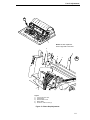
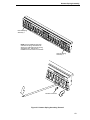
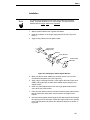
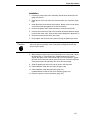
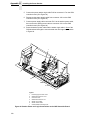
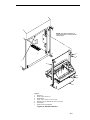
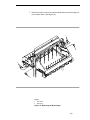
b. Install and tighten the three screws.
15. Push the platen to the left.
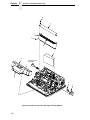
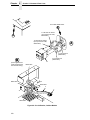
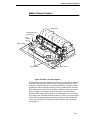
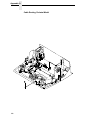
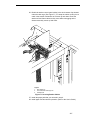
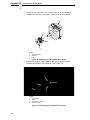
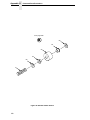
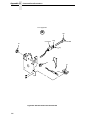
16. Install the forms thickness lever onto the right side platen shaft, pressing
the interlock switch out of the way as the lever slides past it. Tighten the
7/64 inch setscrew. (See page 206, item 15.) Open and close the forms
thickness lever to make sure the setscrew does not touch the right ribbon
guide.
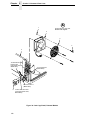
17. Install the platen shaft pulley with the 7/64 inch setscrew facing up and
tighten the setscrew. Open and close the forms thickness lever and check
that the platen pulley setscrew does not hit the left ribbon guide.
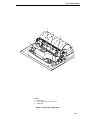
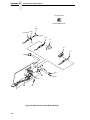
18. Install, but do not adjust, the platen open belt and platen open motor
pulley (page 206, items 21 and 23).
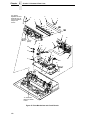
19. Install the paper ironer with the black tape towards the rear of the printer
(page 206, item 3).
20. Install the shuttle frame assembly (page 177).
21. Adjust the platen gap (page 110).
22. Adjust the platen open belt (page 104).
23. Check ribbon guide alignment (page 114).
24. Check the hammer phasing (page 121).
25. Return the printer to normal operation (page 101).
165