1
Section 4 – LightSync™ Device Switching
SAMPLE OPERATION:
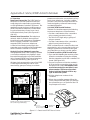
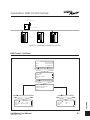
Control a Single Relay Output From a Switch Node
EDIT
Press EDIT
Define the LightSync switch node:
This operation is programmed at the system level.
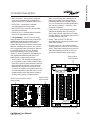
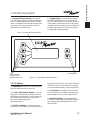
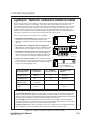
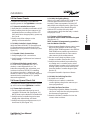
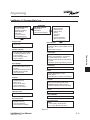
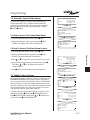
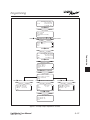
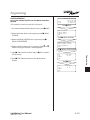
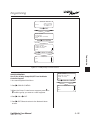
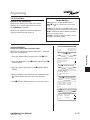
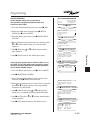
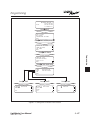
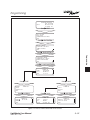
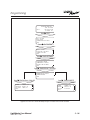
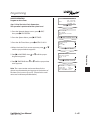
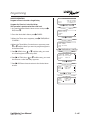
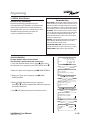
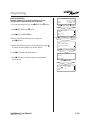
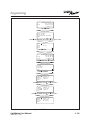
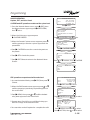
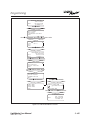
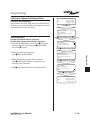
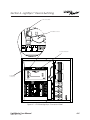
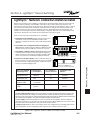
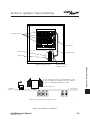
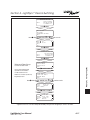
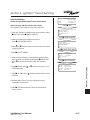
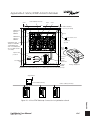
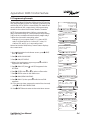
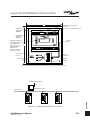
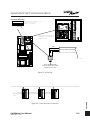
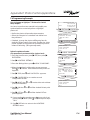
1. From the Network Home screen, press EDIT. When
the Network Menu appears, press EDIT SYSTEM.
NETWORK MASTER *
TUE 9/16/03.
09:46:54 PM.
(C)2003 ILC.
EDIT SYSTEM
EDIT NODES
SYNCHRONIZE SETTINGS
EXIT
Press EDIT SYSTEM
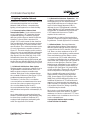
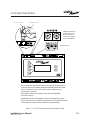
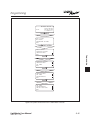
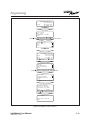
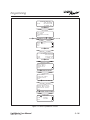
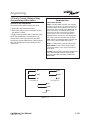
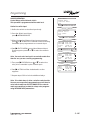
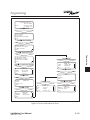
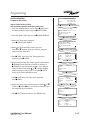
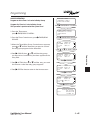
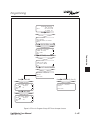
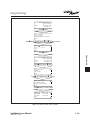
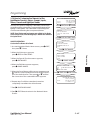
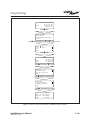
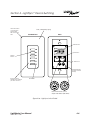
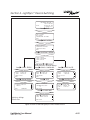
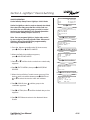
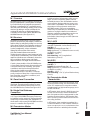
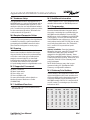
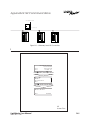
2. When the system MAIN menu appears,
press LIGHTSYNC SETTINGS.
3. From the LightSync menu appears,
press LSYNC CONFIGURE.
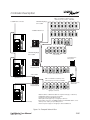
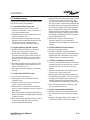
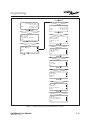
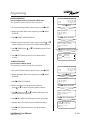
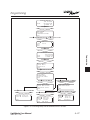
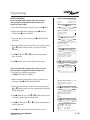
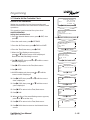
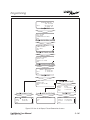
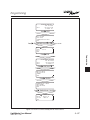
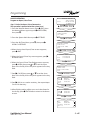
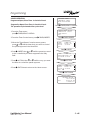
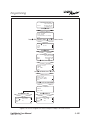
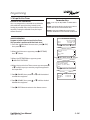
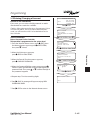
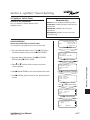
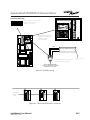
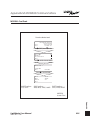
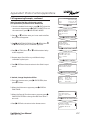
4. When the top level configuration screen appears,
press
or until the device node address you want
to define appears.
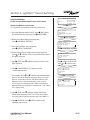
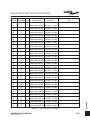
5. Press TYPE; then until the physical device node
type appears.
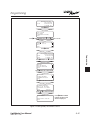
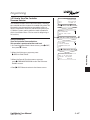
6. Press CONFIGURE to access the second
configuration screen.
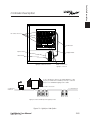
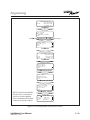
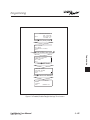
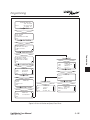
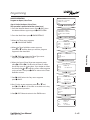
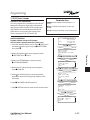
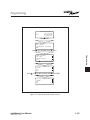
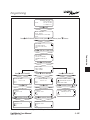
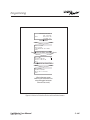
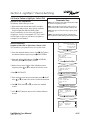
7. If necessary, press
or until the sub-address of the
device you want to define appears. Note: On multidevice nodes each device will have a distinct subaddress, which can be assigned its own function
switch type. For example: in a 3-button pushbutton
addressed as 06, the buttons would be 06.1, 06.2, and
06.3 respectively.
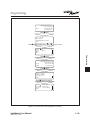
GROUP CONTROL
LIGHTSYNC SETTINGS
TIMER SETTINGS
EXIT
Press LIGHTSYNC SETTINGS
LSYNC STATUS
LSYNC CONFIGURE
LSYNC PILOTS
EXIT
Press LSYNC CONFIGURE,
then
or to select node
NODE
LSYNC 09
TYPE
1 BUTTON
CONFIGURE
EXIT
Press CONFIGURE
INPUT
TYPE
LSYNC 09.1
MOM. P.B.
EXIT/SYNC
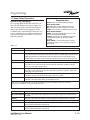
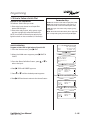
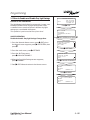
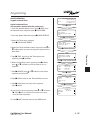
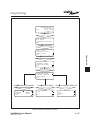
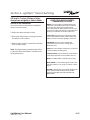
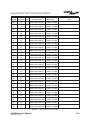
8. Press TYPE, then
until the desired functional
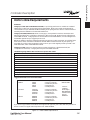
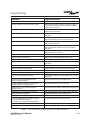
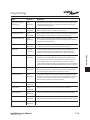
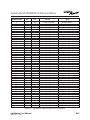
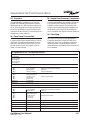
switch type appears. Note: Functional switch types
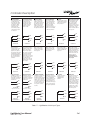
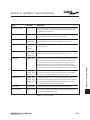
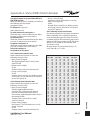
are limited by the physical node type. See Table 4-1.
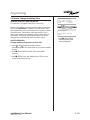
9. Press EXIT/SYNC, then EXIT to return to the
LightSync Input menu.
LightMaster User Manual
Version 2E-N 1/1/05
4-14