1
MOUNT AIR TANK
One of the first things we
want to do is to mount the
air tank and drill the left
saddlebag for air lines. The
holes we need to drill are
small, and can be filled in if
the system is ever removed.
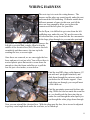
We start by mounting the
captive air tank and its
included bracket to existing
bolts on the left saddlebag.
Remove this saddlebag and
place it as shown here on a
soft (non-scratching
surface).
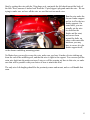
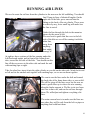
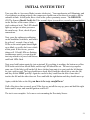
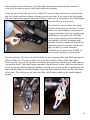
The two bolts in this picture (one circled, the other being tightened) get removed, then the
bracket and tank are placed over the bolt holes, and the stock bolts are reinstalled (us a bit of
blue Loctite here). Once these are installed, we can move on to drilling for air lines.
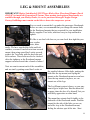
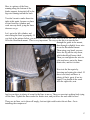
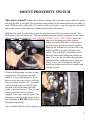
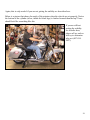
The second to last page of this manual has a
drilling template. You will need to cut this
template out carefully and attach it to the
saddlebag. This will allow you to drill one of
the two holes through an existing hole in the
metal support structure, inside the saddlebag.
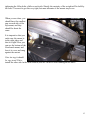
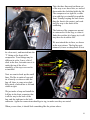
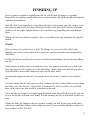
As you can see in the photo, the template has
two curves to match the curves on the upper
and lower brackets on the back of the
saddlebag. Attach the template carefully with
tape, then, using a punch; mark just the lower
hole so you can drill it.
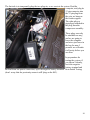
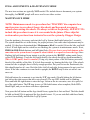
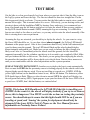
The final hole size for these holes will be 5/16”, but the bottom hole needs to be start drilled
with a reasonably small (1/8” or smaller) bit. You will see why in a moment.
8