1
Battery Bank
Charging the Batteries with the Onboard Charger
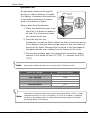
1. Locate the charger on unit. The charger is normally located within
the control unit. Open the lid of the control unit and lift the white
or black face. The optional charger should be located inside
2. Locate the AC outlet for the charger. Some installations will have
the power cord wired into the charger. Other installations will be
wired to an external weather resistant power connector
3. Connect the AC outlet to an extension lead. Connect other end of
the lead into an 110V power socket
4. Change the charger switch to the ON position. This switch is
generally located inside the control box on the black or white face
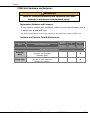
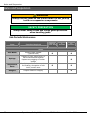
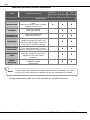
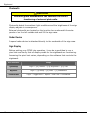
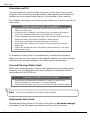
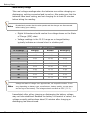
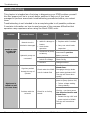
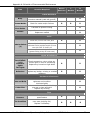
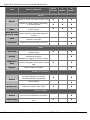
5. Charge for the recommended time as specified in the Suggested
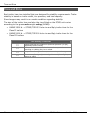
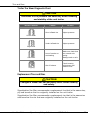
Recharging Time tables. The LED Indicator on the IQ4 shows the
charging state and the battery charge status
6. Disconnect the extension and turn charger switch OFF. This
ensures the charger is powered off
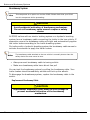
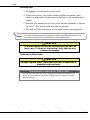
Note:
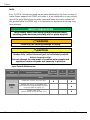
The IQ4 module allows the charger to charge in Bulk and Absorption modes
for a 24 hour period only. This time limit is to prevent damage to the batteries
from overcharging; As a result, when the battery level is too low, the charger
may not be able to fully recharge the battery pack in a single 24 hour period.
When the 24 hour time limit is up, the IQ4 LED (small green light) stays ON
continuously and the IQ4 needs to be reset.
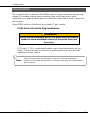
For full details, see Battery Charging Procedures on the Support section of the Ver-Mac web site
Replacement Batteries
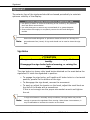
Although batteries in good condition normally stay charged for months, as
batteries get older and do more charge/discharge cycles, capacity gradually
reduces. If any battery loses more than half its capacity in a month it is
probably time to replace your entire battery bank.
Ver-Mac 2011
Operations, Safety & Maintenance PCMS V 2.0
59